Getting Started
Get up and running with Lexe wallet in just a few minutes.
Download the App
Lexe is currently in closed beta. To get early access, join the waitlist and we'll send you a signup code when a spot is available.
Once you have a signup code, download the app:
- iOS: Download via TestFlight
- Android: Download via Play Store
Note for iOS users: TestFlight sometimes asks for an "access code", which is different from the Lexe signup code. If you see this prompt, try clicking the download link again. If that doesn't work, reinstall the TestFlight app and retry.
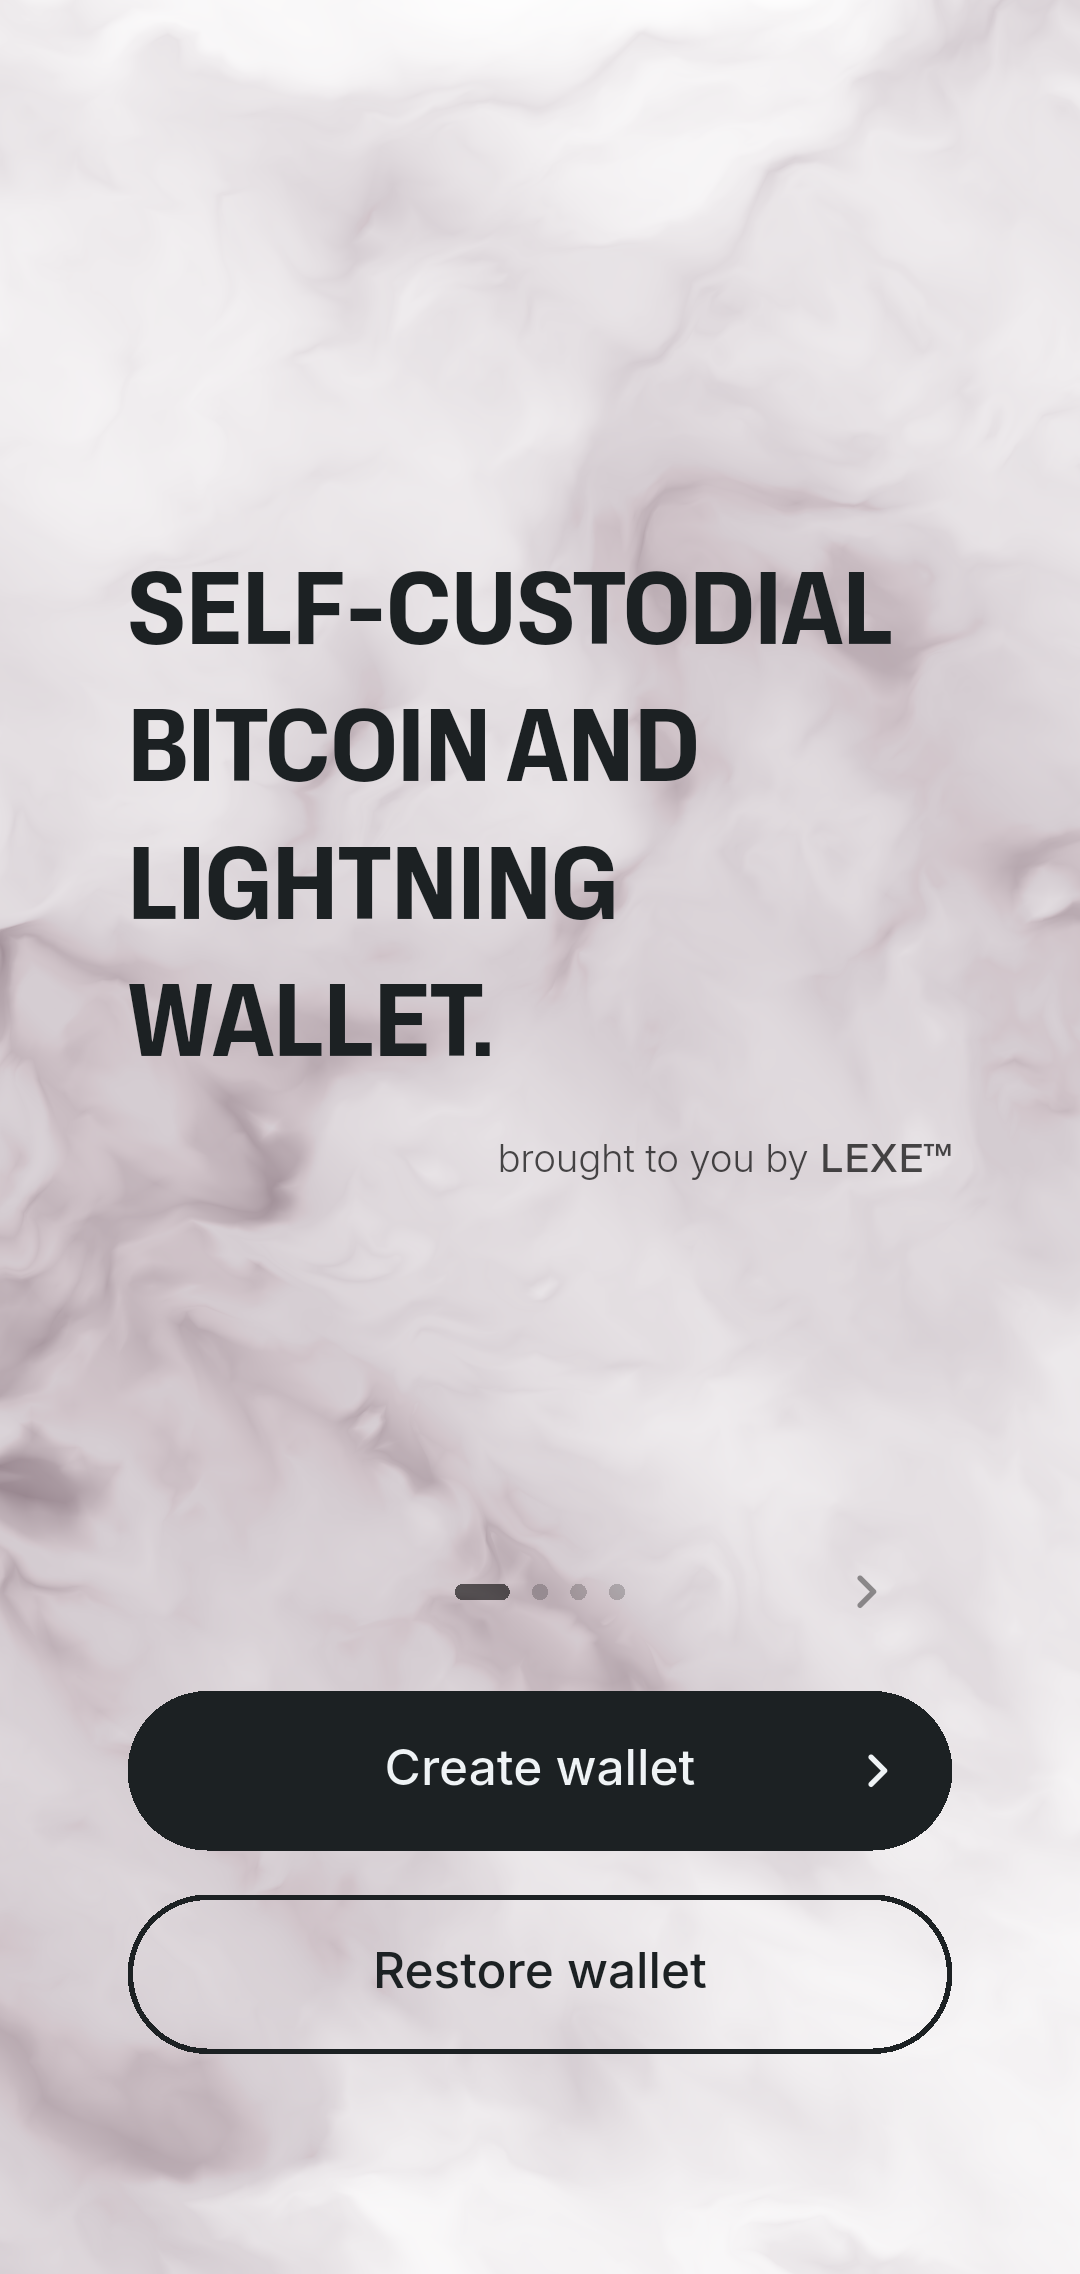
Create Your Wallet
Open the Lexe app and tap Create wallet.
You'll be guided through a short setup process:
1. Enter your signup code
Paste the code sent to your email.

2. Choose your backup method

Option A: Google Drive backup (recommended)
Tap Connect Google Drive, then set a backup password. Your backup password encrypts your recovery data, so Google can't read it. Store it in a safe place like a password manager. You'll need it to recover your funds.
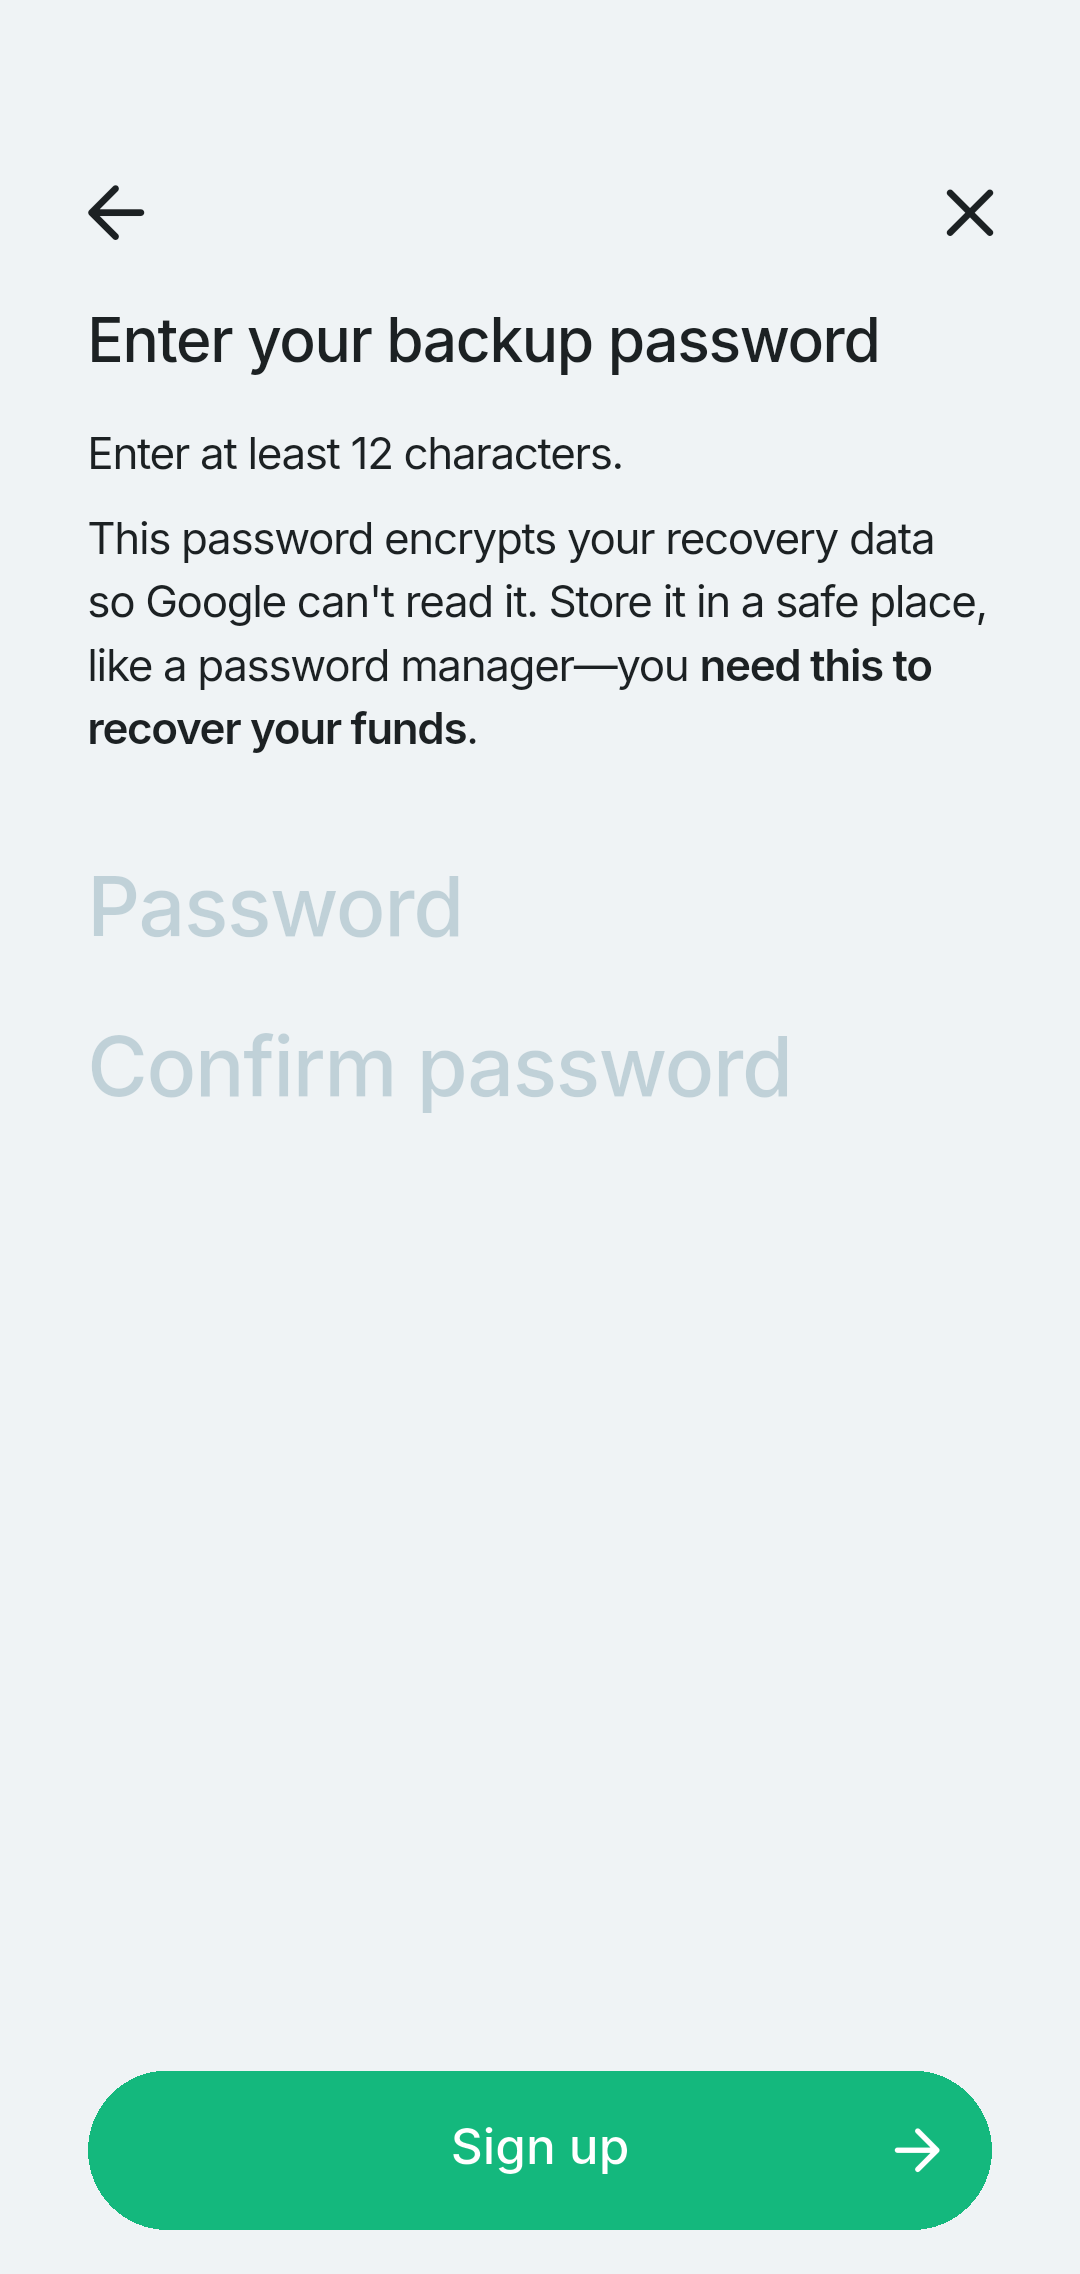
With Google Drive backup, you can recover your funds even if Lexe goes away.
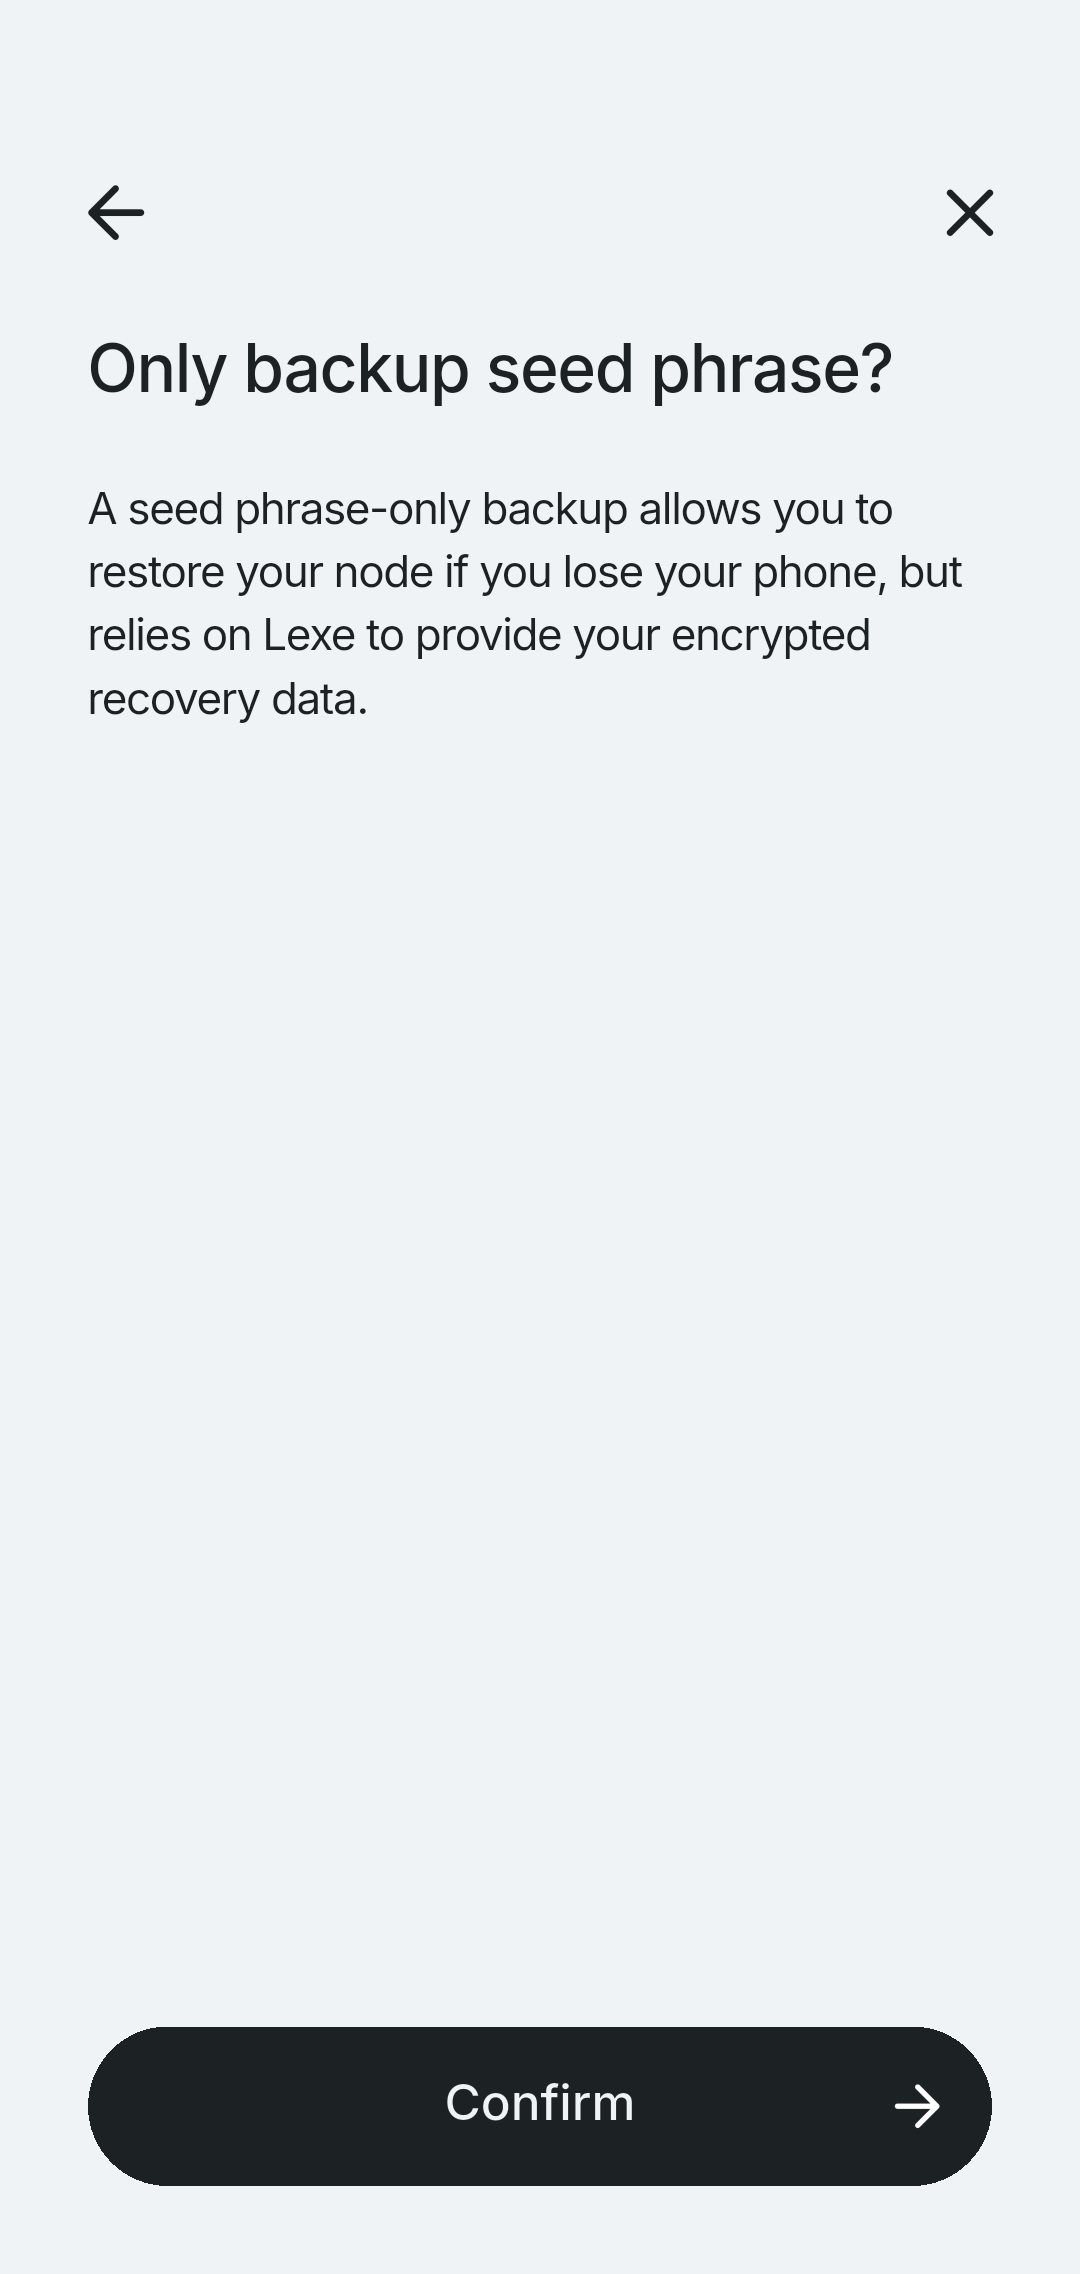
Option B: Seed phrase-only backup
With seed phrase-only backup, you can recover your funds using your seed phrase if you lose your phone, but Lexe must be available to provide your encrypted recovery data.
Tap Seed phrase only backup, then Confirm.
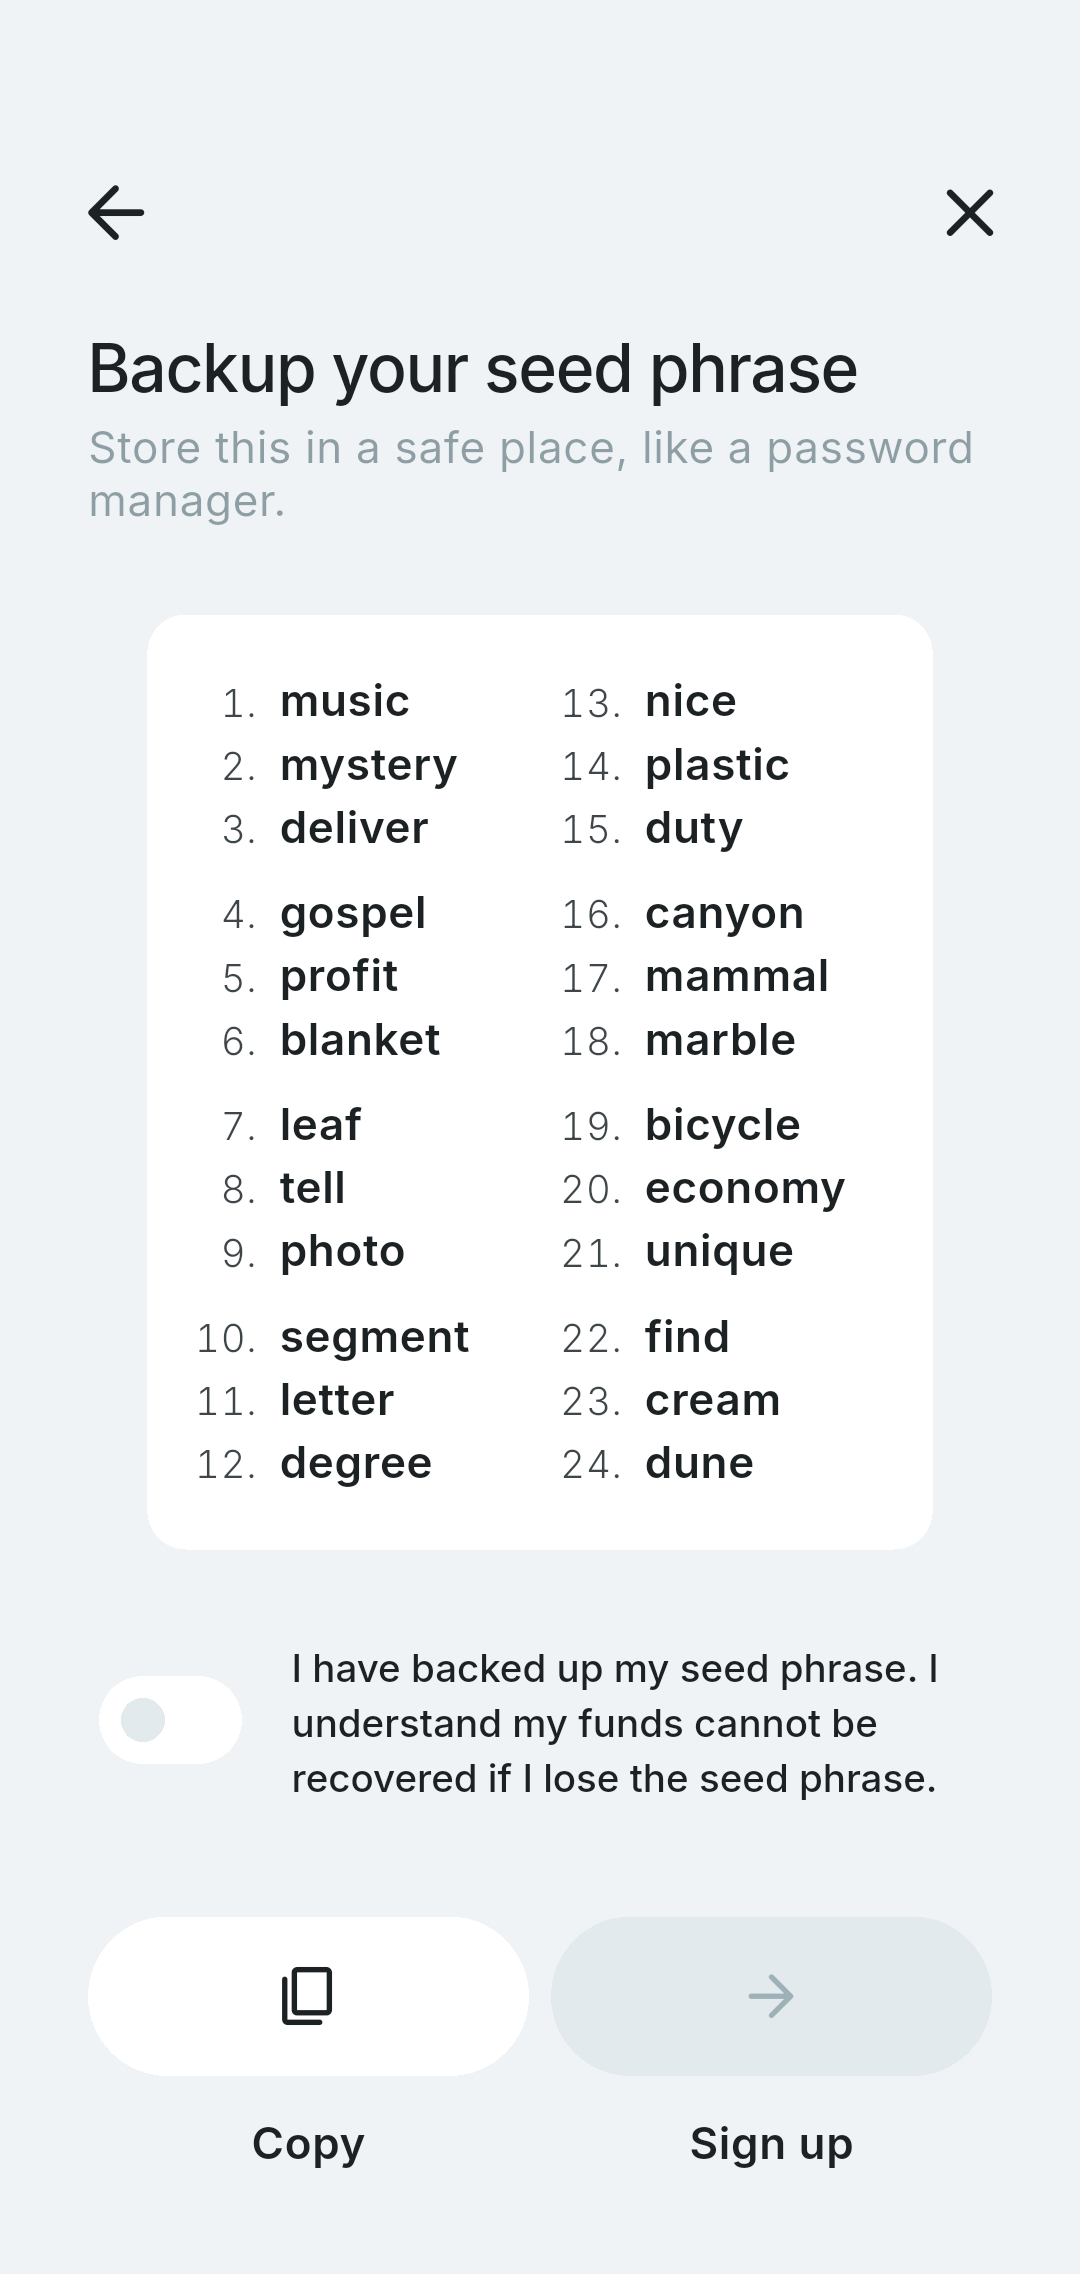
Copy or write down your 24-word seed phrase and store it in a safe place. Check the box to confirm, then tap Sign up.
That's it! You have created your self-custodial Lexe wallet.
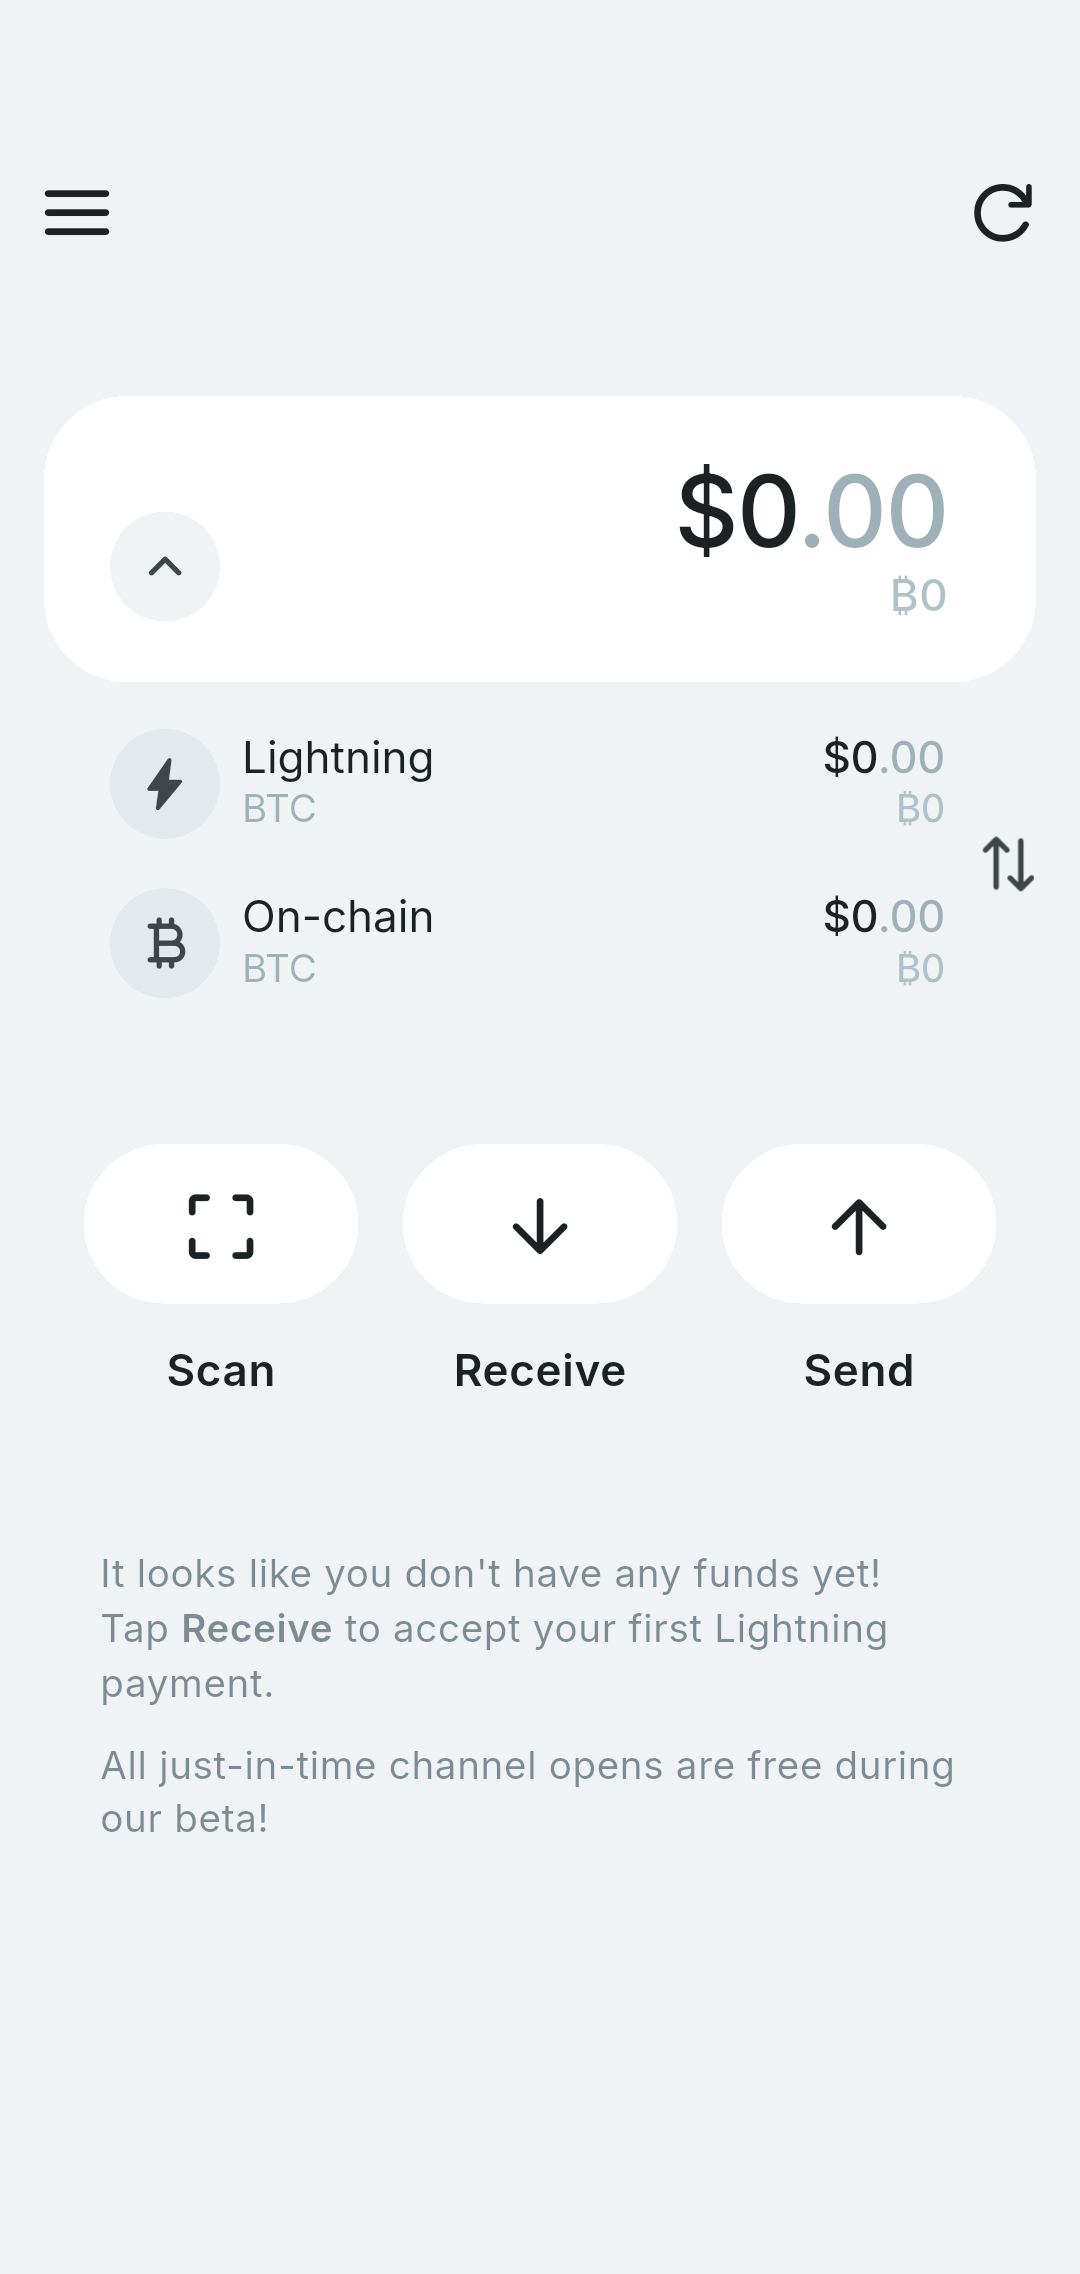
Fund your wallet
Before you can send payments, you'll need to add some Bitcoin to your wallet. Due to channel reserve limits, we recommend depositing at least ₿10,000 so you have enough balance to send some outbound payments.
Option A: Fund wallet with Lightning (recommended)
Funding your wallet with Lightning is instant. A "just-in-time" channel is opened to you to receive your payment which also contains an initial amount of inbound liquidity for future receives.
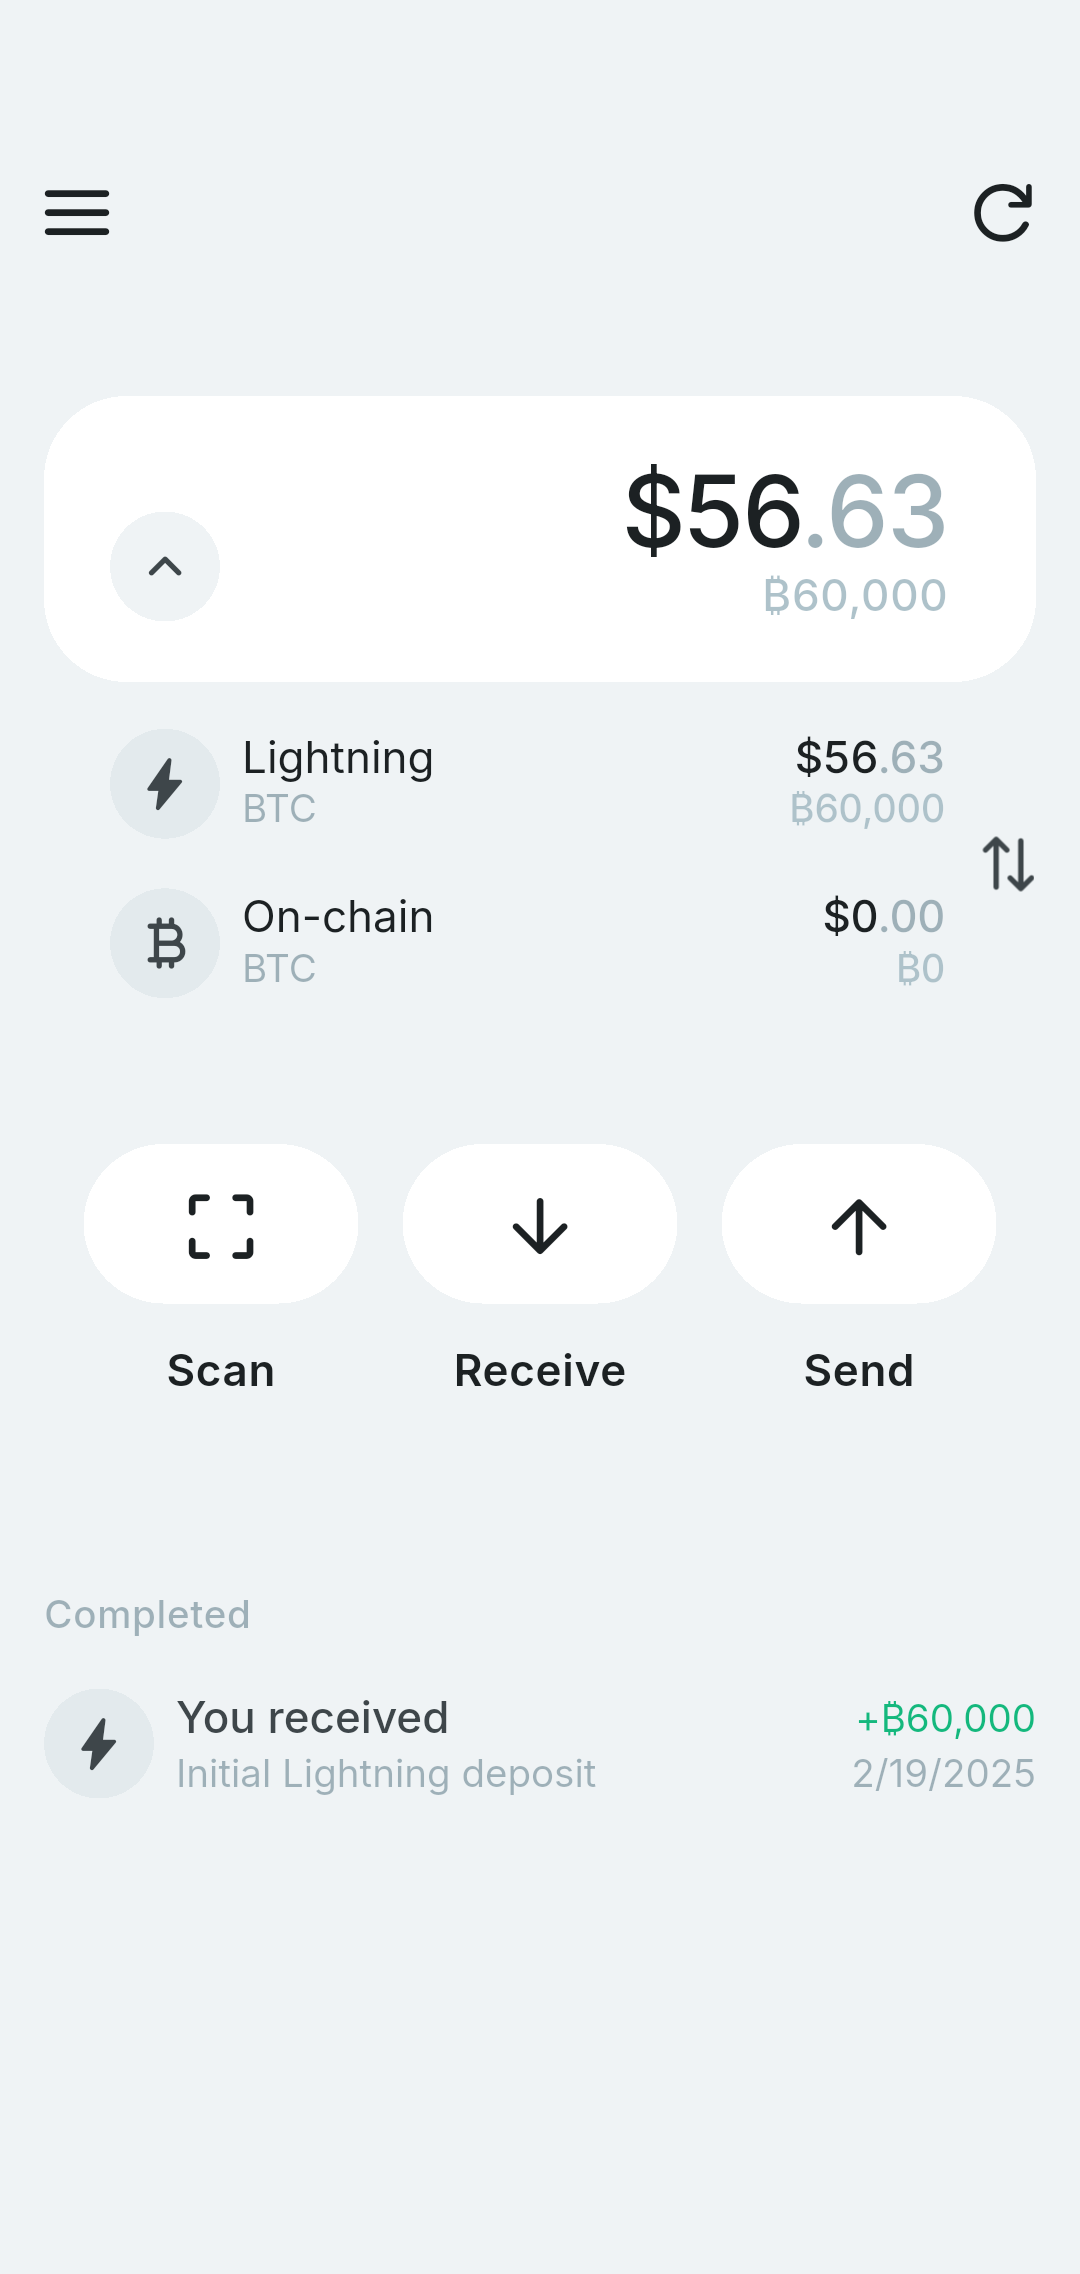
Tap Receive on the home screen. Lexe will generate a Lightning invoice. Tap the copy button to copy the invoice, or have the sender scan the QR code. Lightning payments settle instantly.
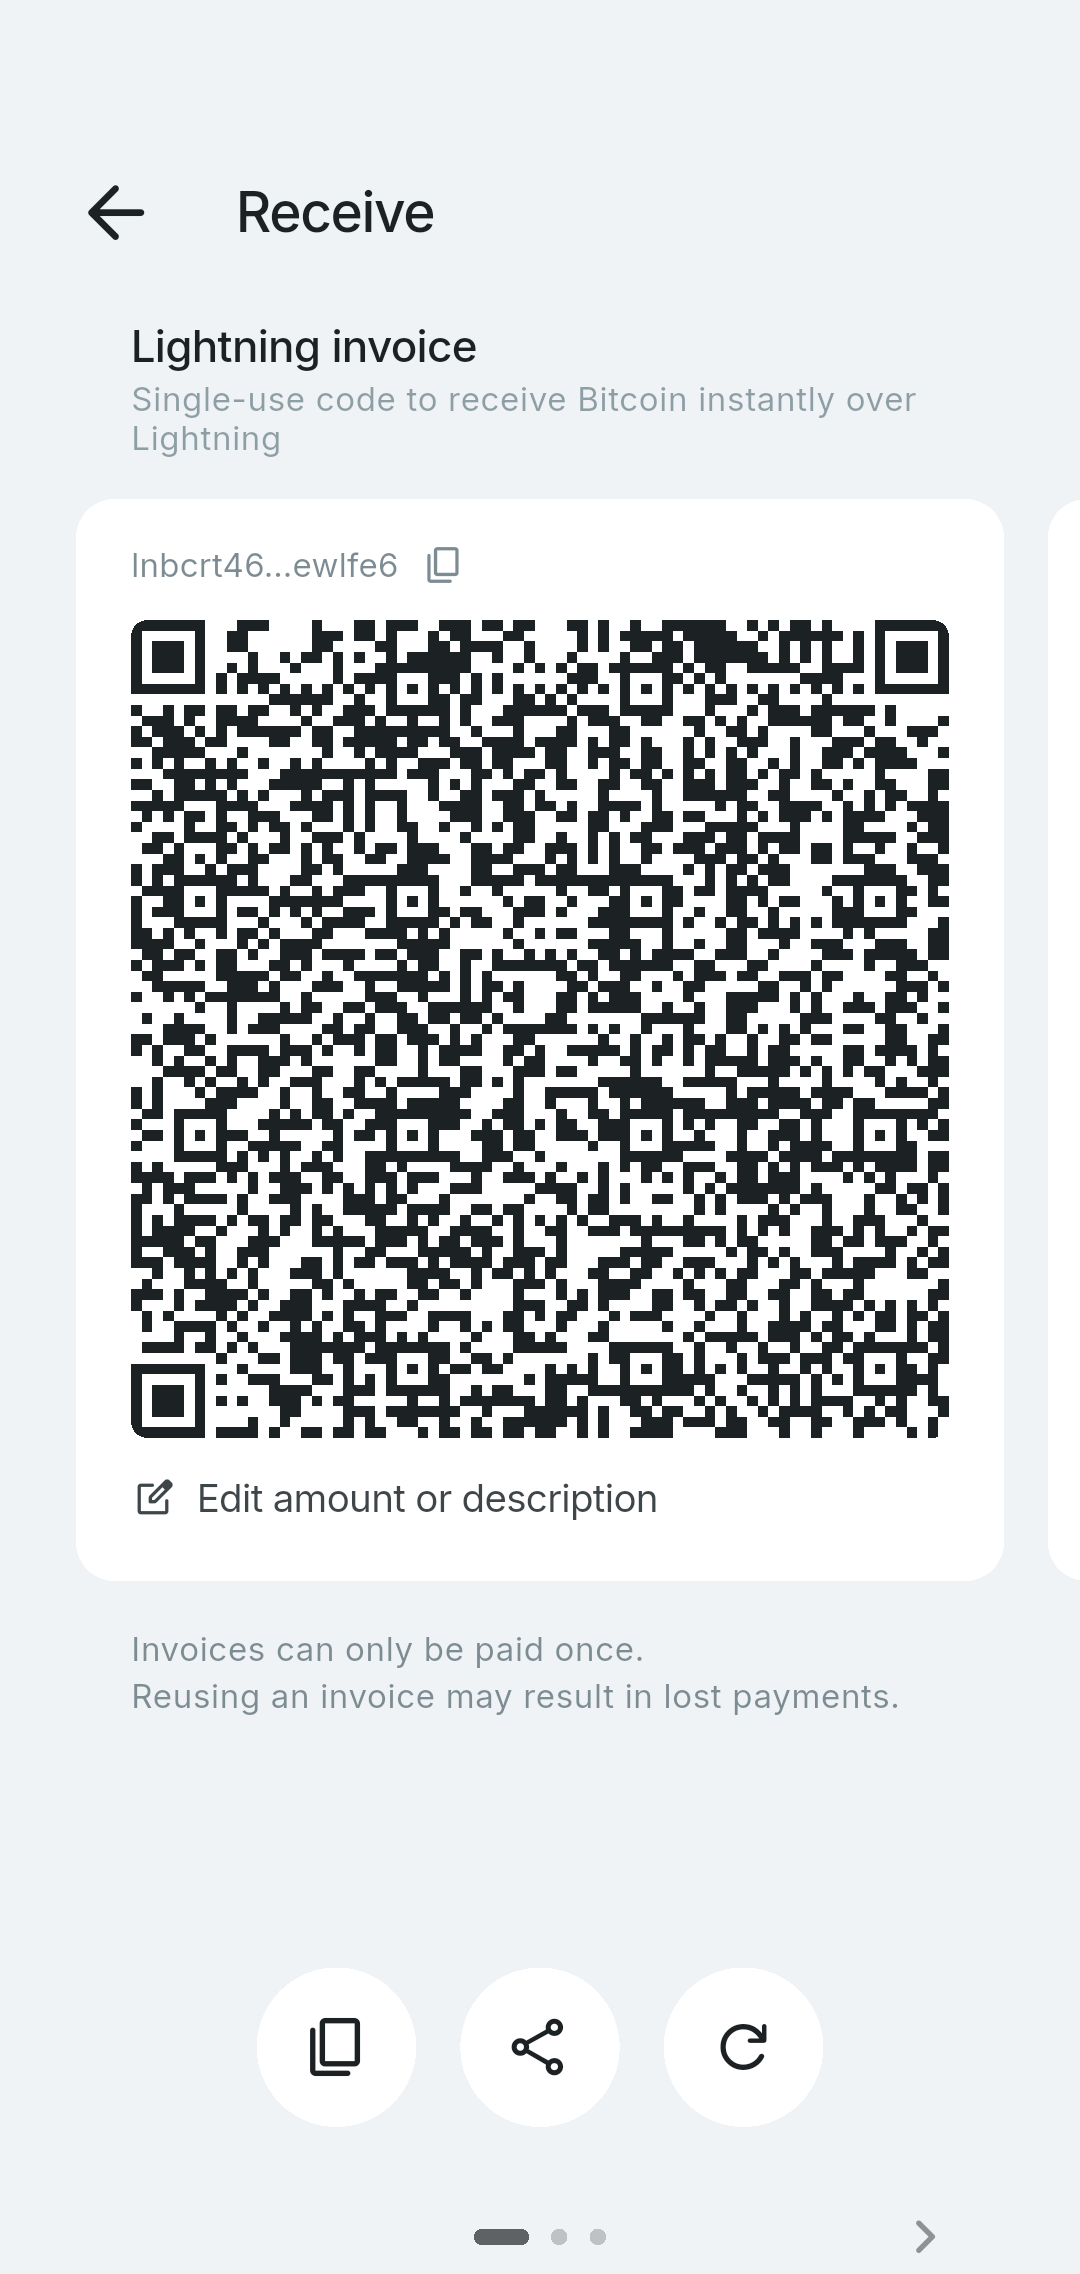
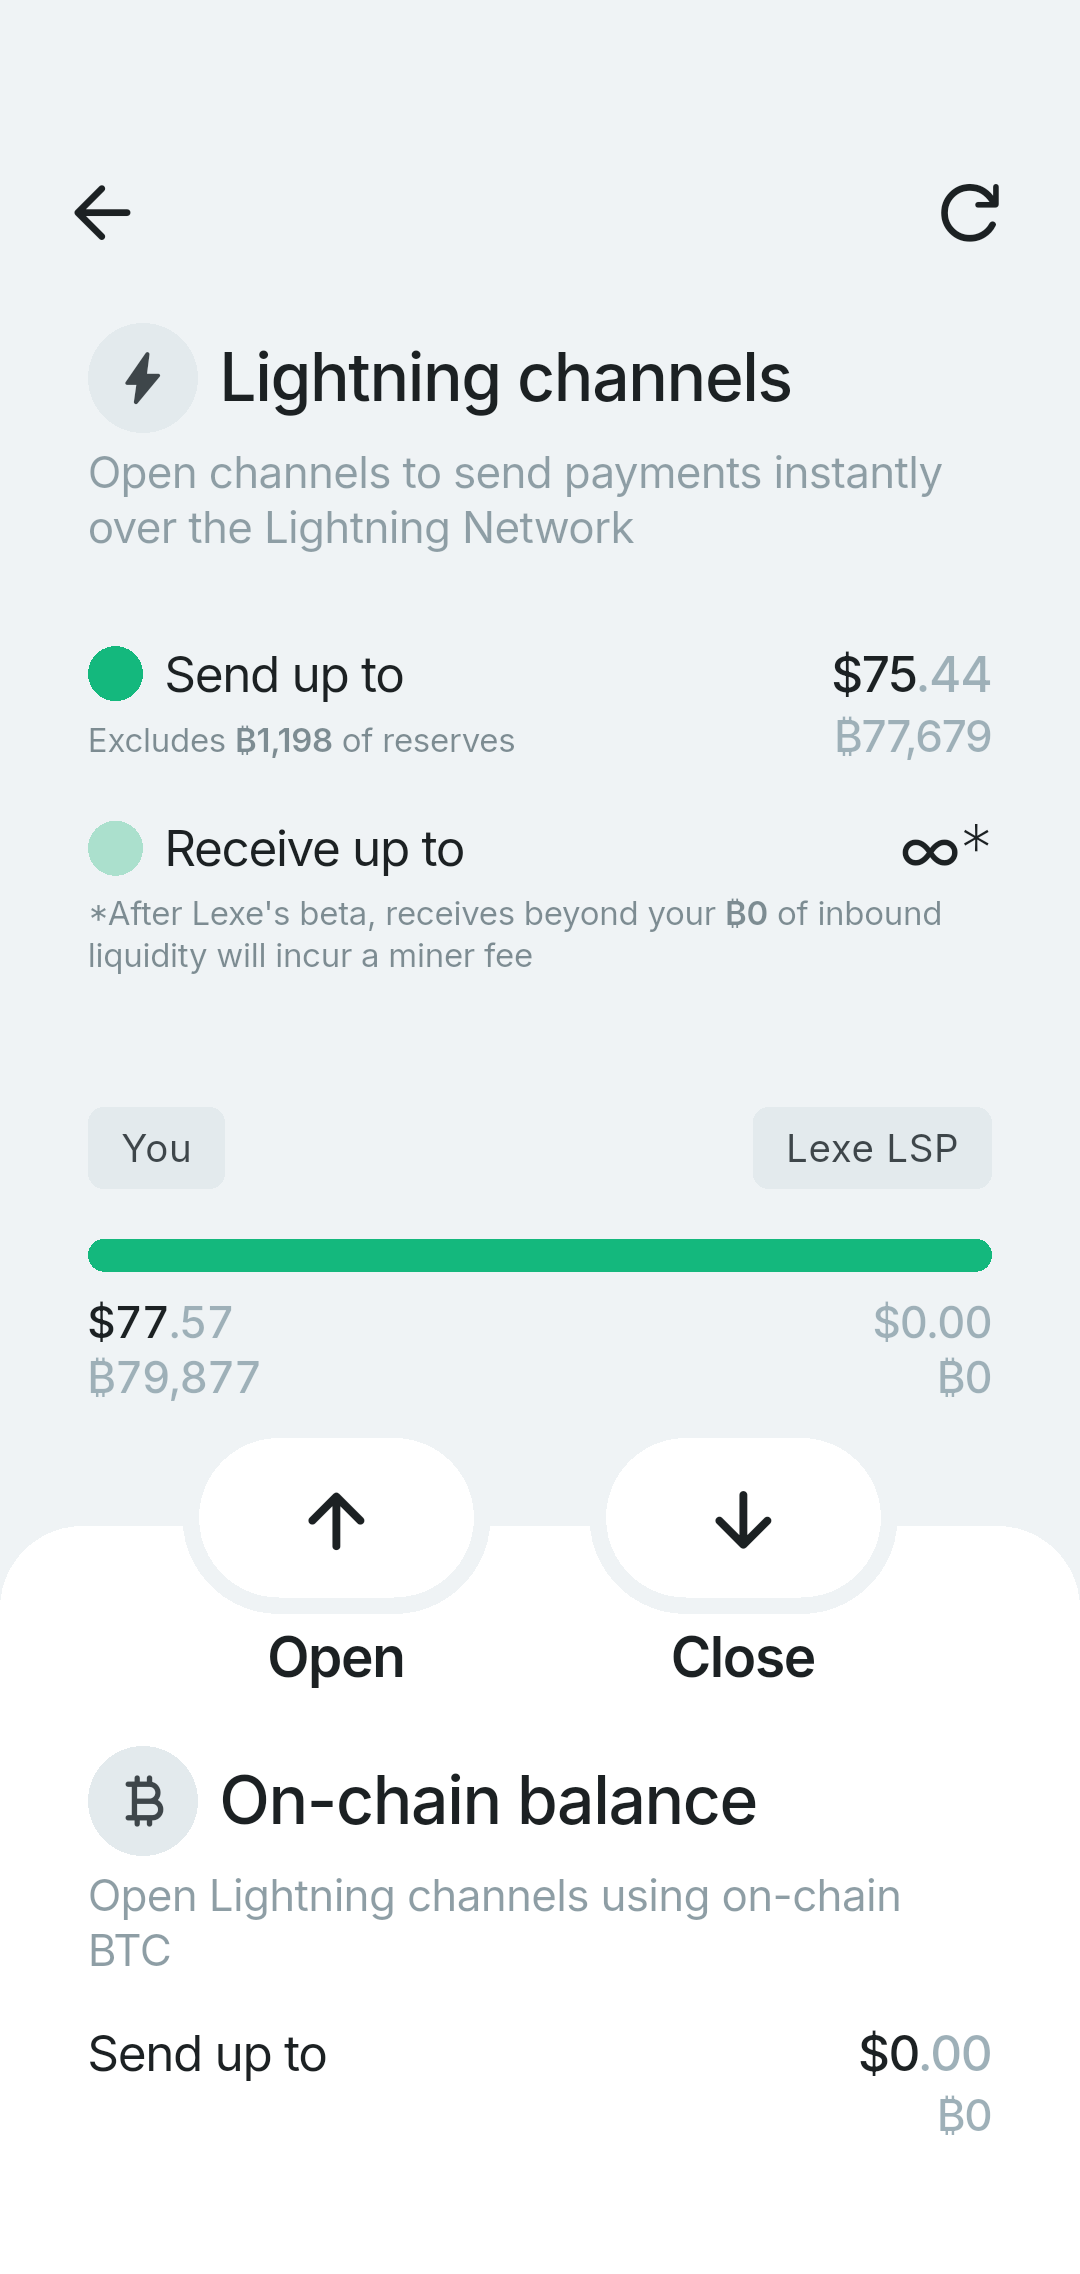
When you receive your first Lightning payment, Lexe automatically opens a channel for you (called a "just-in-time" channel open). Lexe also adds inbound liquidity so you can receive more payments without incurring additional channel fees. Channel fees and liquidity fees are free during Lexe's beta.

Skip ahead to send your first payment!
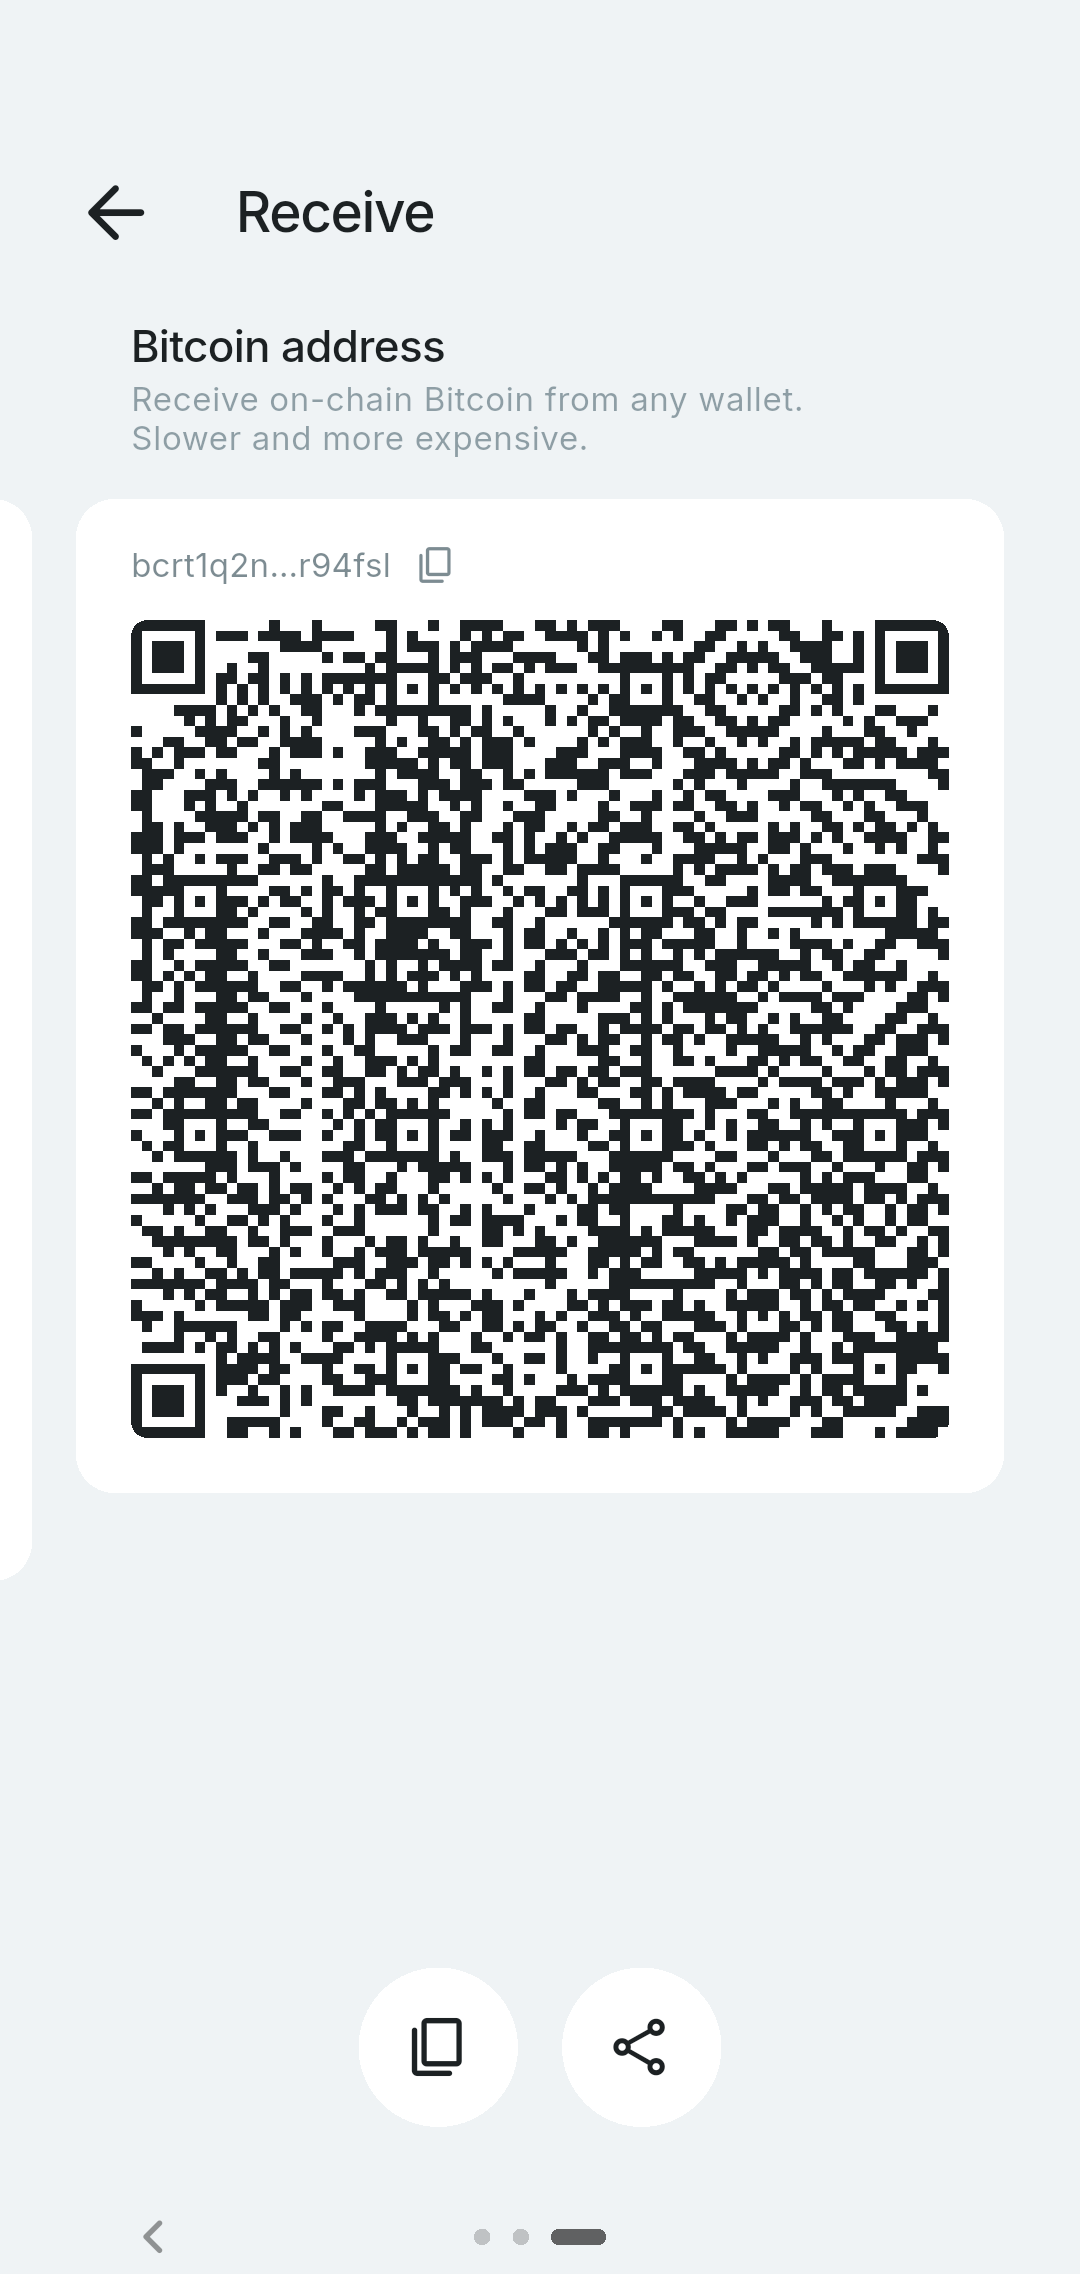
Option B: Fund wallet with on-chain Bitcoin
If your current wallet doesn't support Lightning, you can also fund your wallet with on-chain Bitcoin. Swipe left to see the Bitcoin address. Send Bitcoin from any exchange or wallet to this address. On-chain transactions typically confirm within 10-60 minutes.
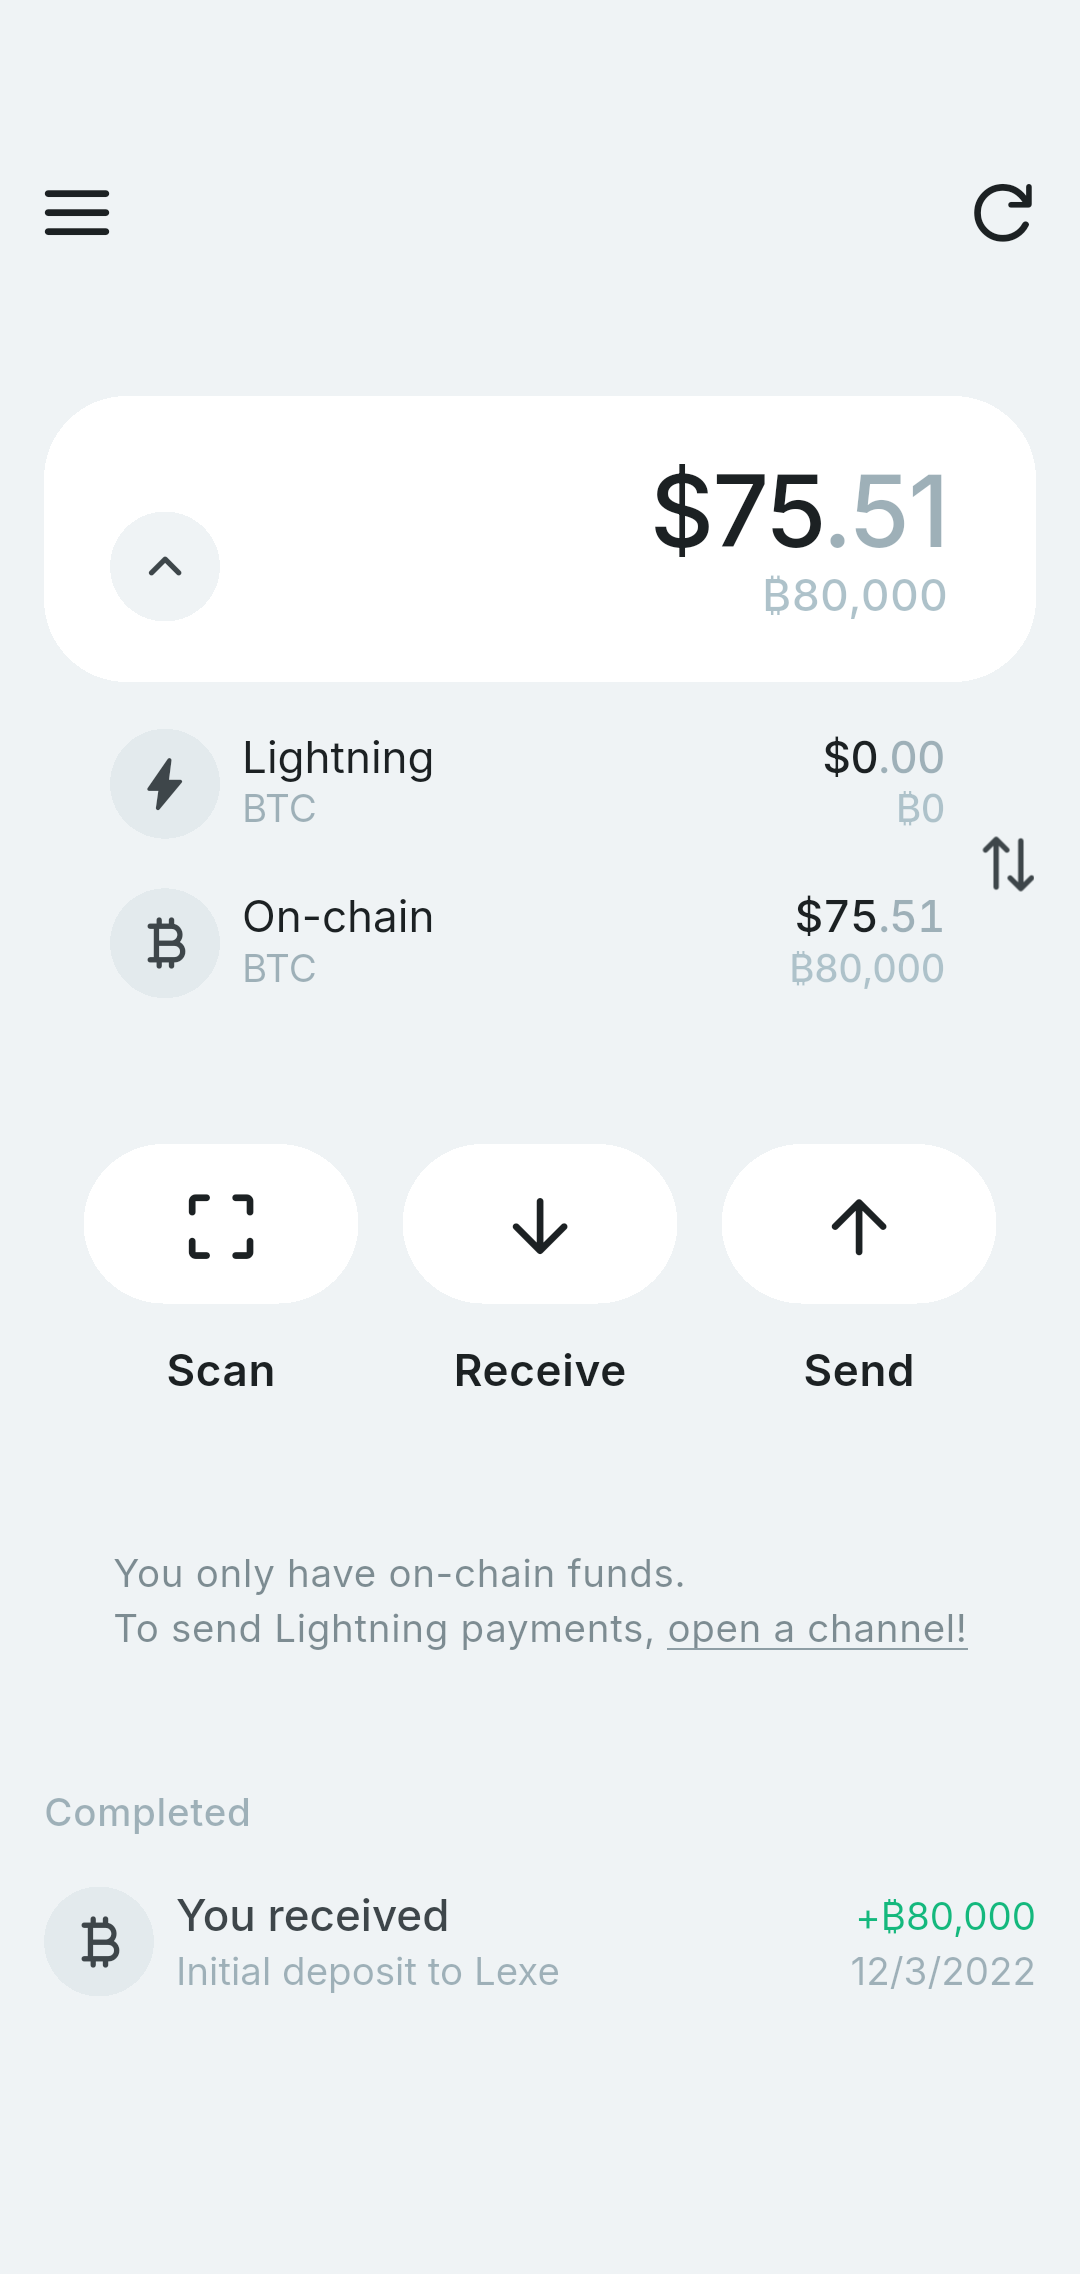
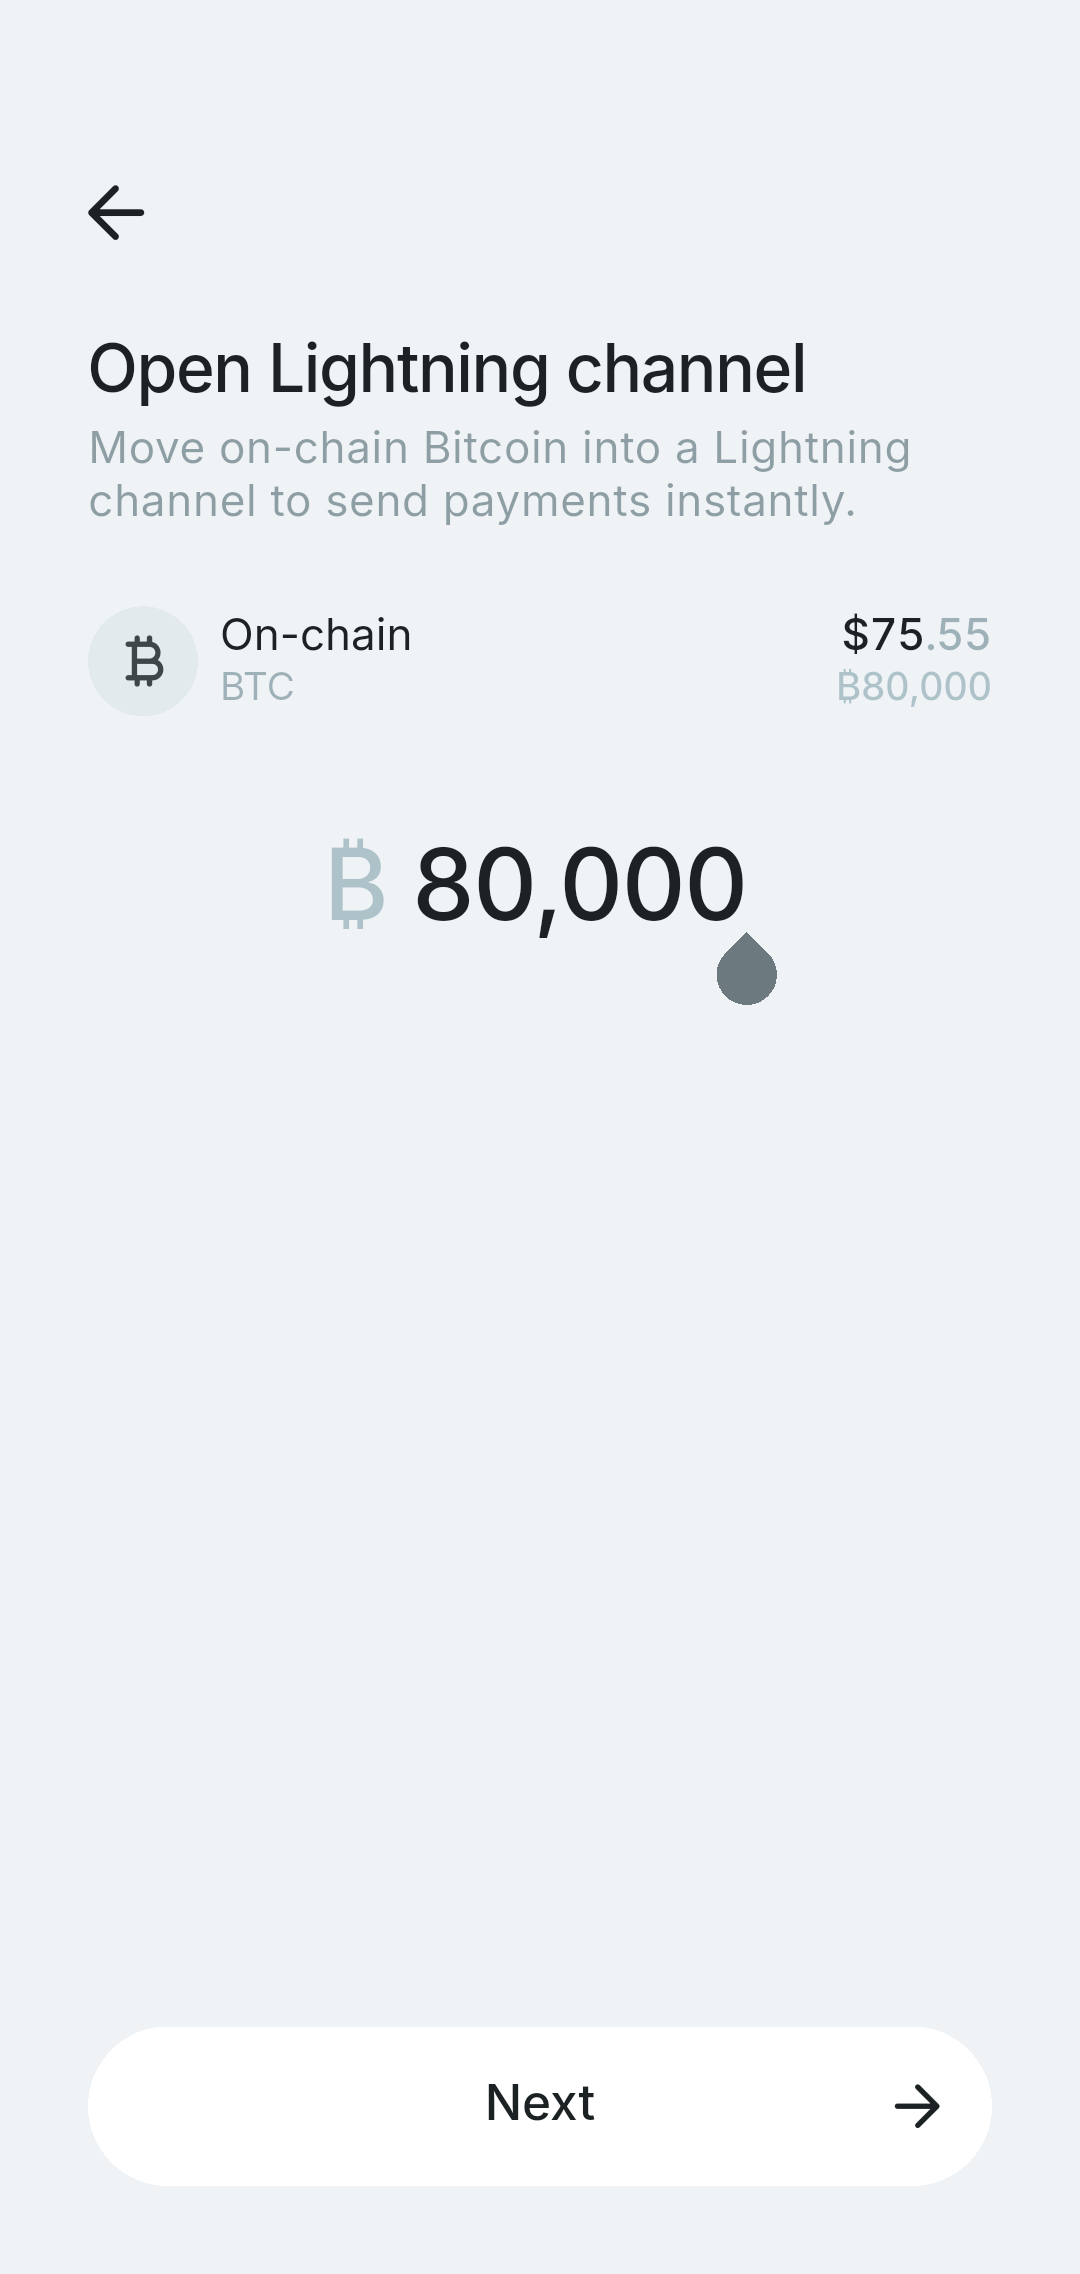
Open channel with on-chain funds
Once your on-chain transaction confirms, you'll need to open a Lightning channel to send Lightning payments. Tap the "open a channel" link above the payments list on the home screen.
Enter the amount you want to move into Lightning, then tap Next. We recommend using your entire balance.
Tap Open channel to confirm.
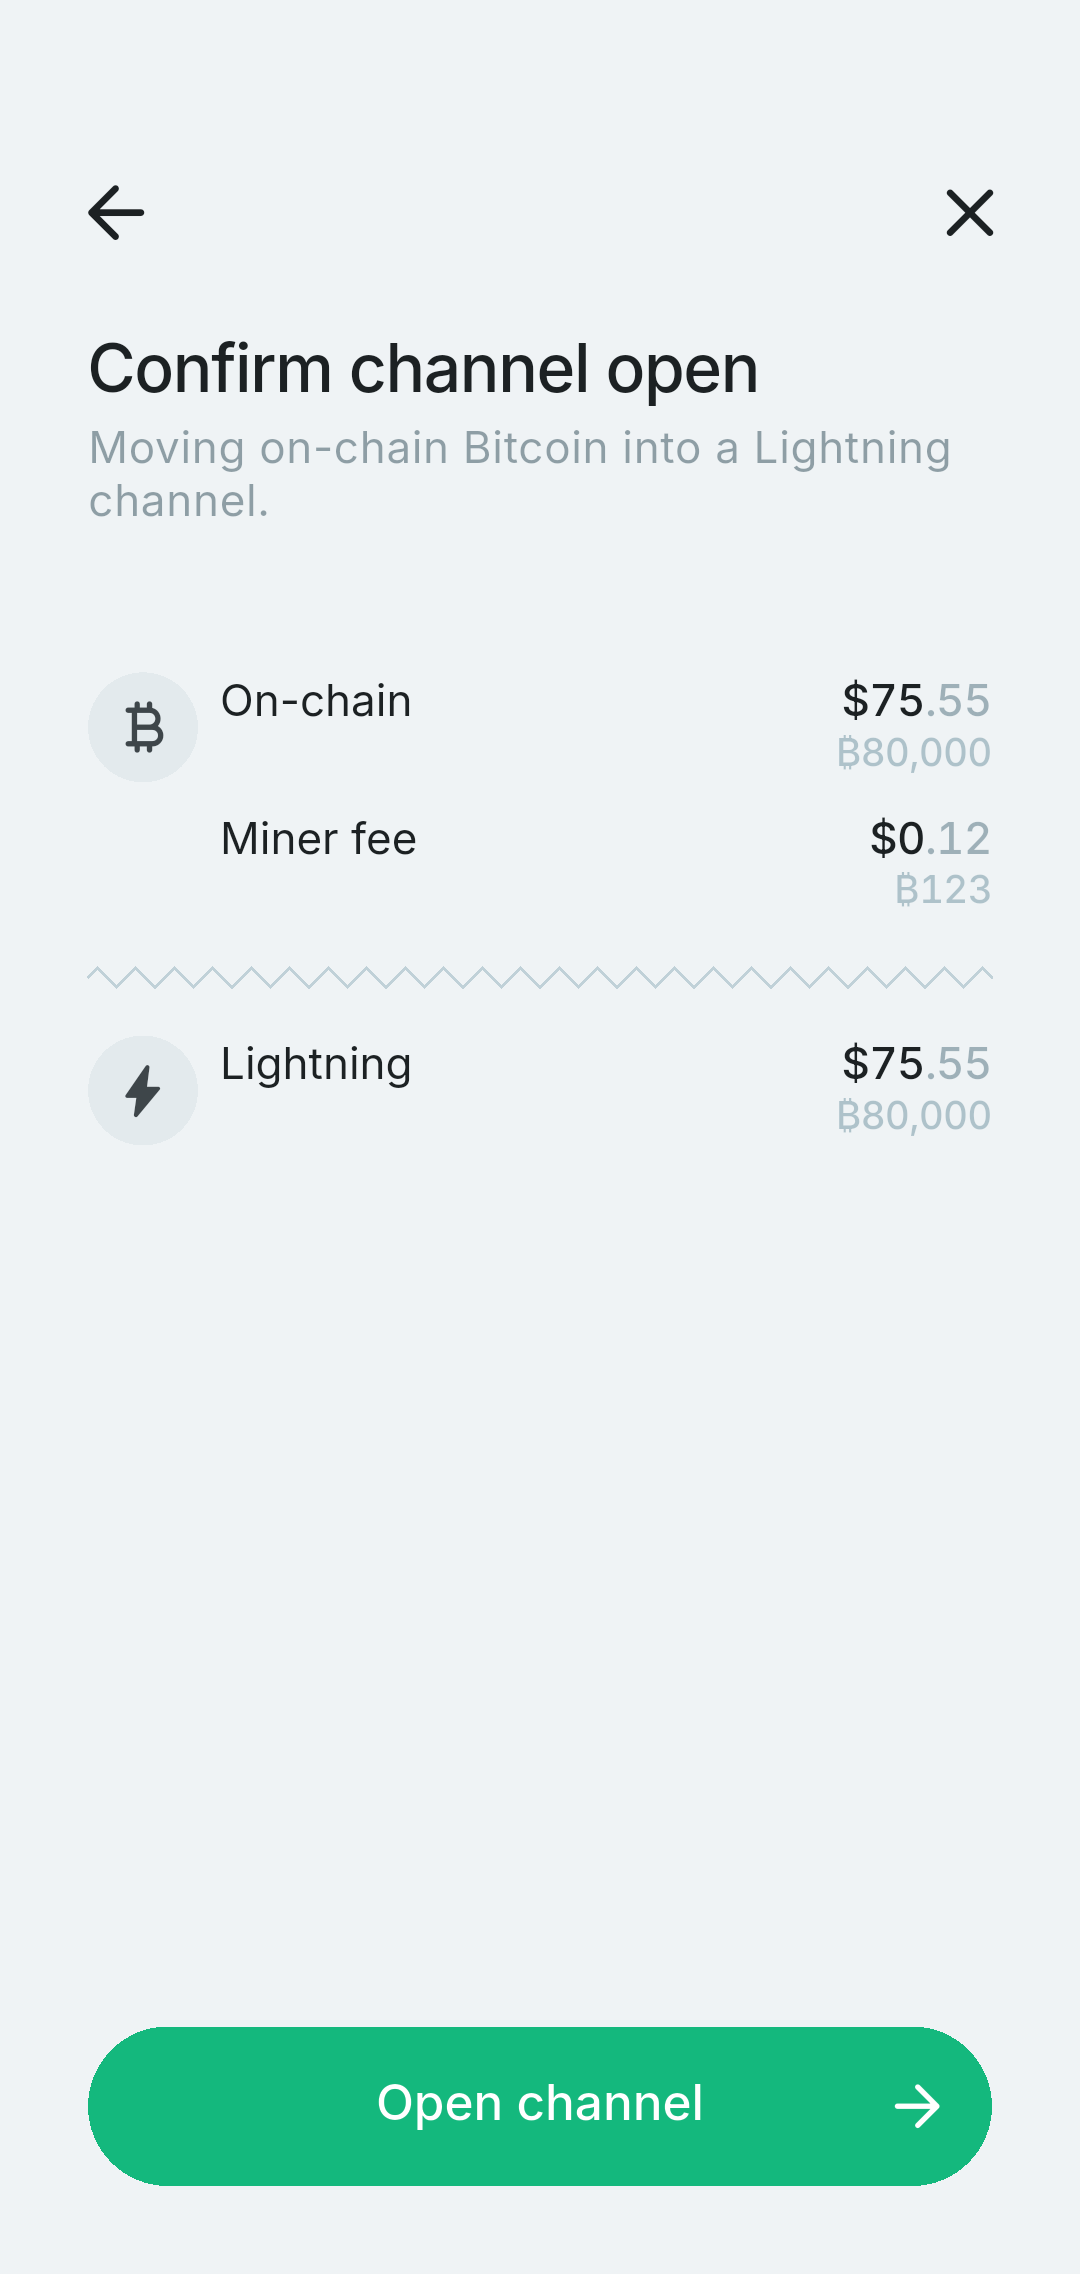
The channel will be ready to use once the transaction confirms on-chain, which usually takes about 30 minutes.
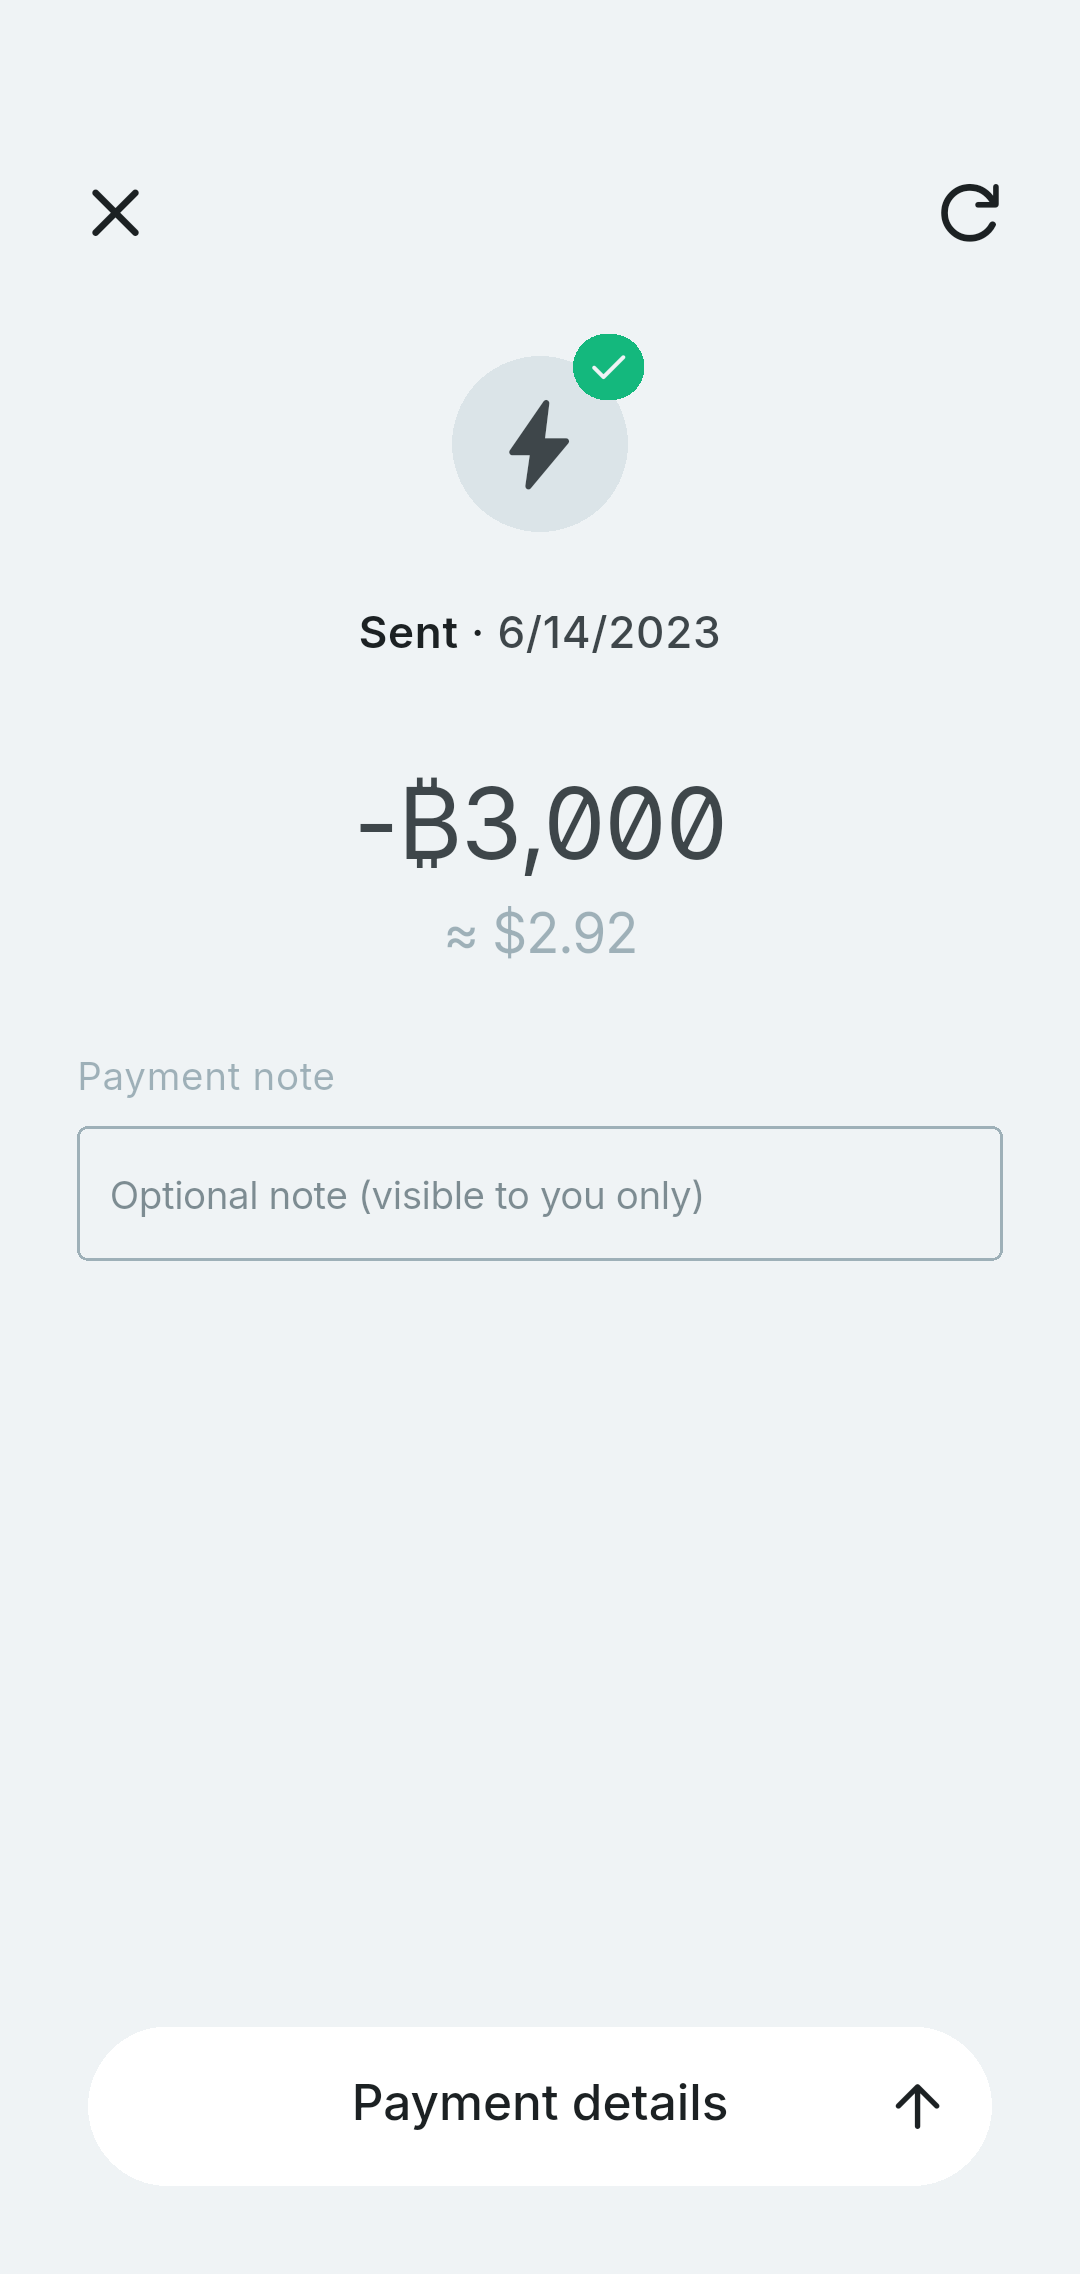
Send your first payment
Once your wallet is funded, you're ready to send!
Tap Scan to scan a QR code, or tap Send and paste a payment string. Lexe supports paying to:
- Lightning invoices (BOLT 11)
- Offers (BOLT 12)
- Human Bitcoin Addresses, e.g. max@lexe.app (BIP 353)
- LNURLs and Lightning Address
- On-chain Bitcoin addresses
Note that sending to a on-chain Bitcoin address requires funds in your on-chain balance, which may require closing a channel.
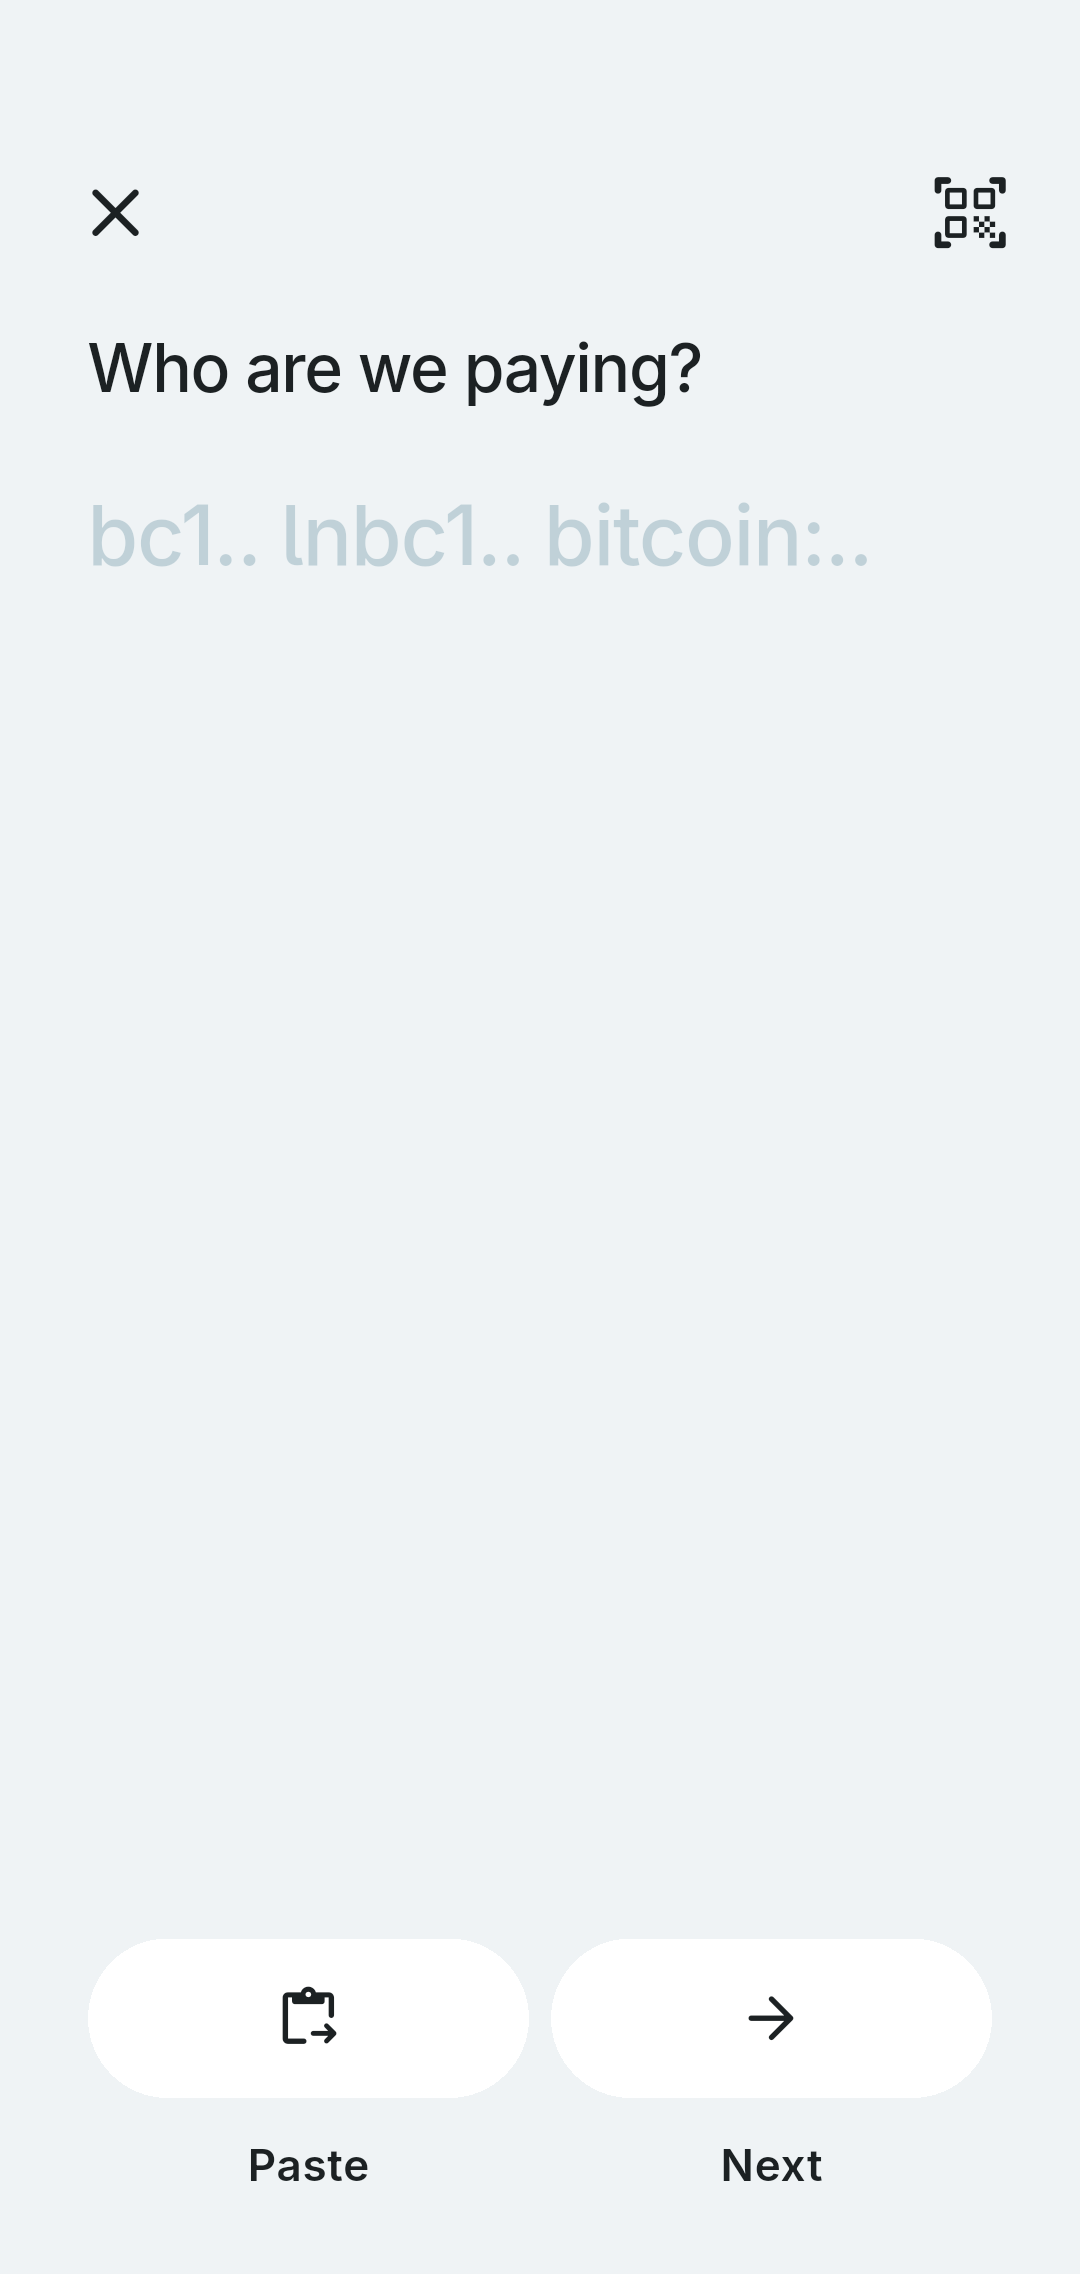
Review the amount and tap Send.
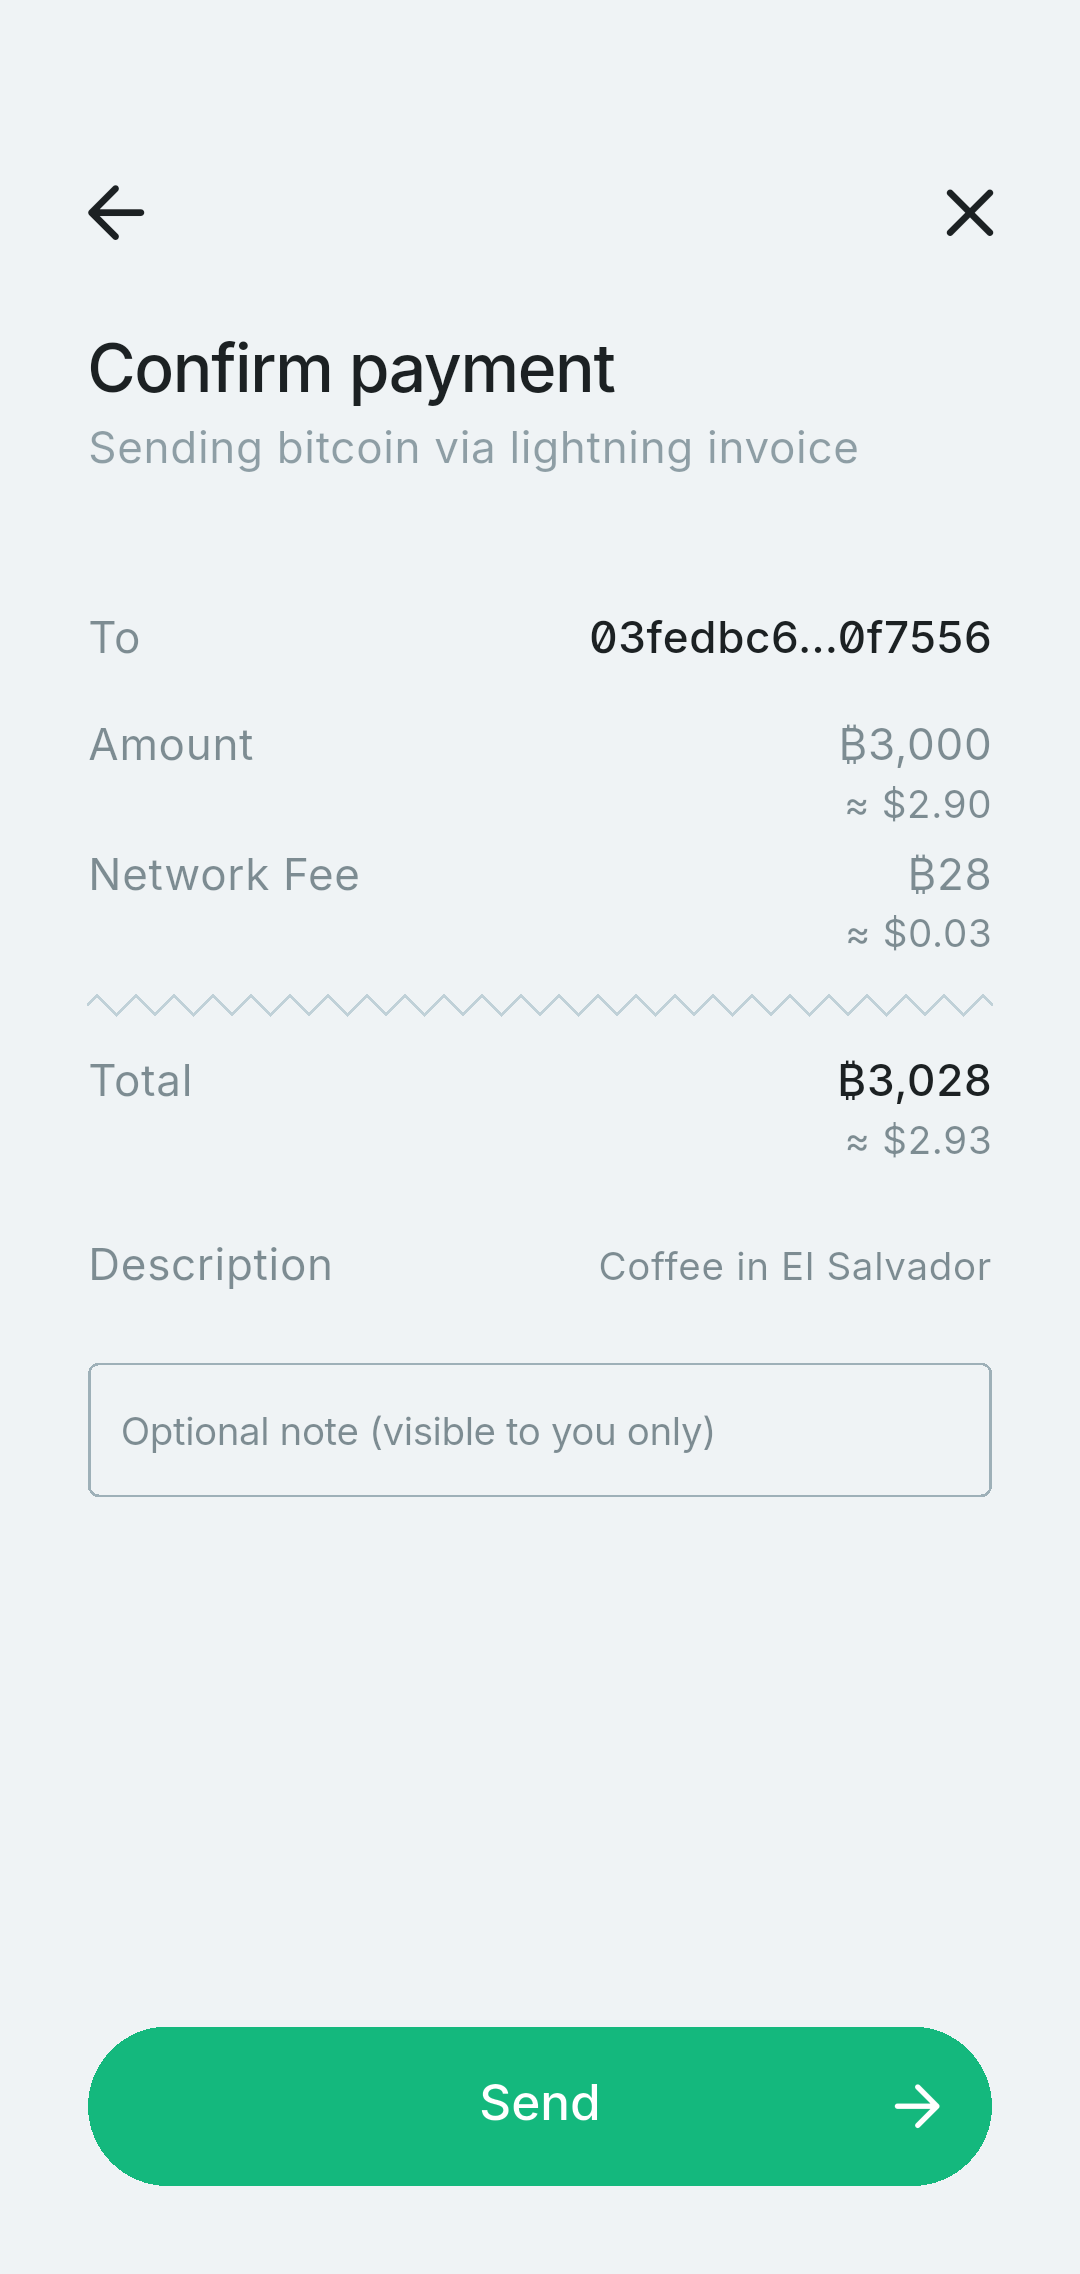
Your Lightning payment should complete in seconds.
What's Next?
- Learn more about how Lexe works.